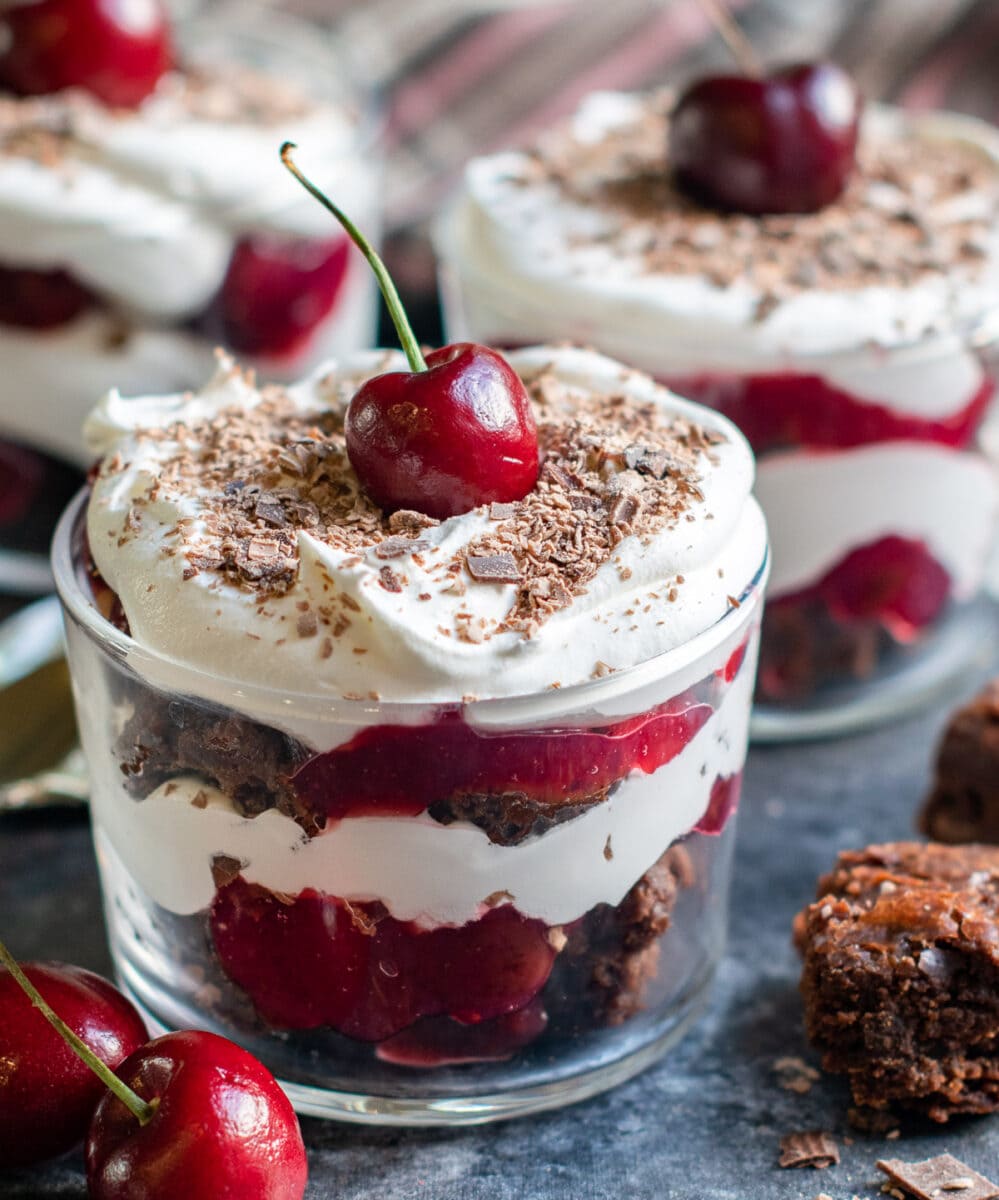
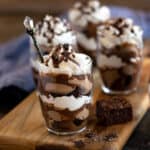
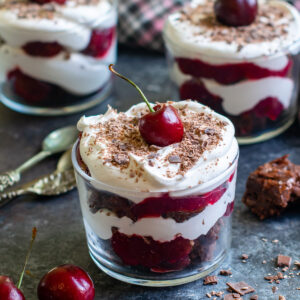
Black Forest Brownie Trifle is an effortless dessert for every celebration! It is filled with impressive layers of homemade eggless fudgy brownies, cherry filling, and delicate whipped cream. A sprinkle of chocolate shavings and a cherry on top make it festive and fabulous. All served as an individual serving! Who could resist that? You will be surprised that how easy it is to make it ahead of time for a large crowd!
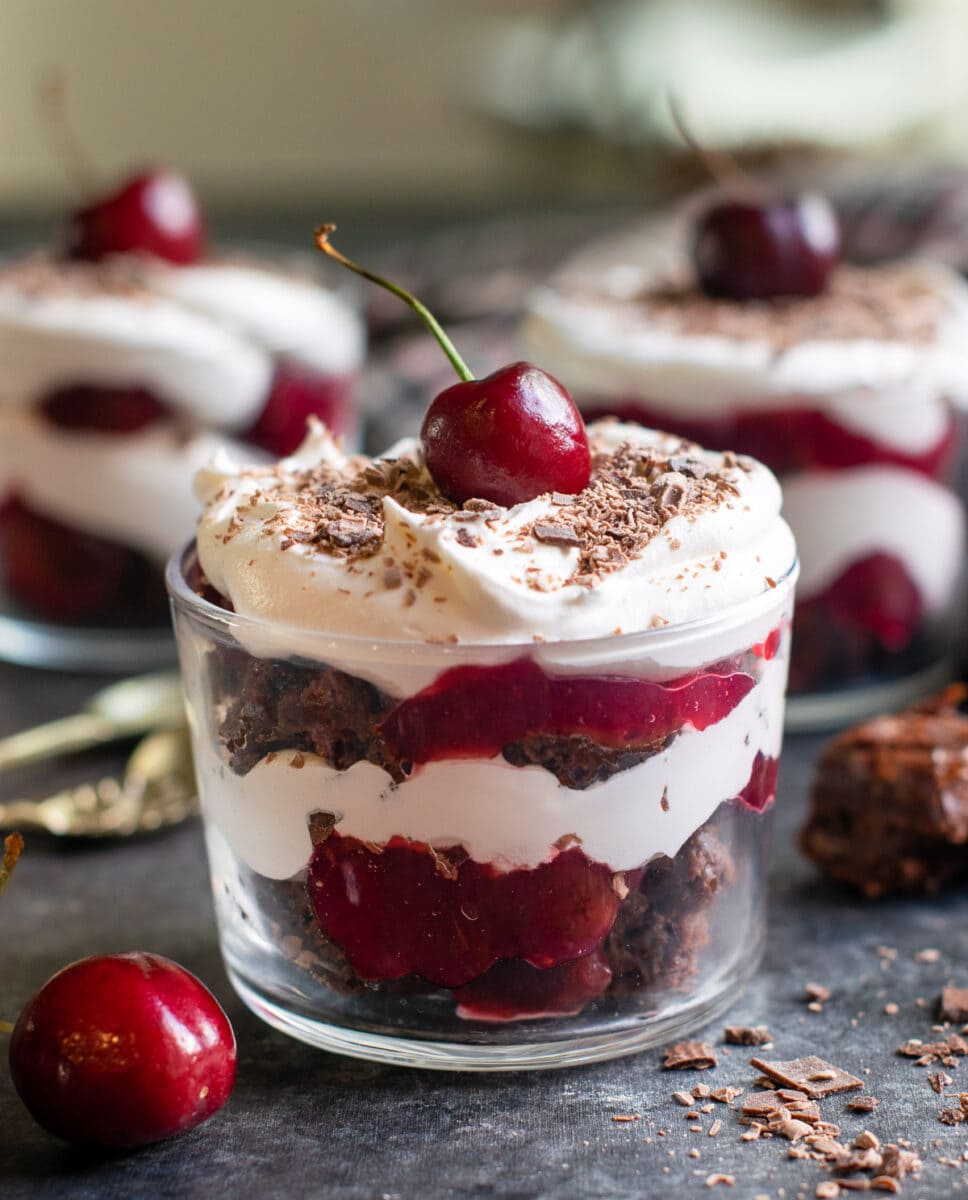
The Black Forest Cake is my first ever love when it comes to cakes. So for this holiday season, I thought of sharing it in a delicious new avatar using a brownie instead of a cake and layering it in individual cups for delicious portion-sized treats. This trifle has all the flavor of a Black Forest Cake. So let’s get started.
Jump to:
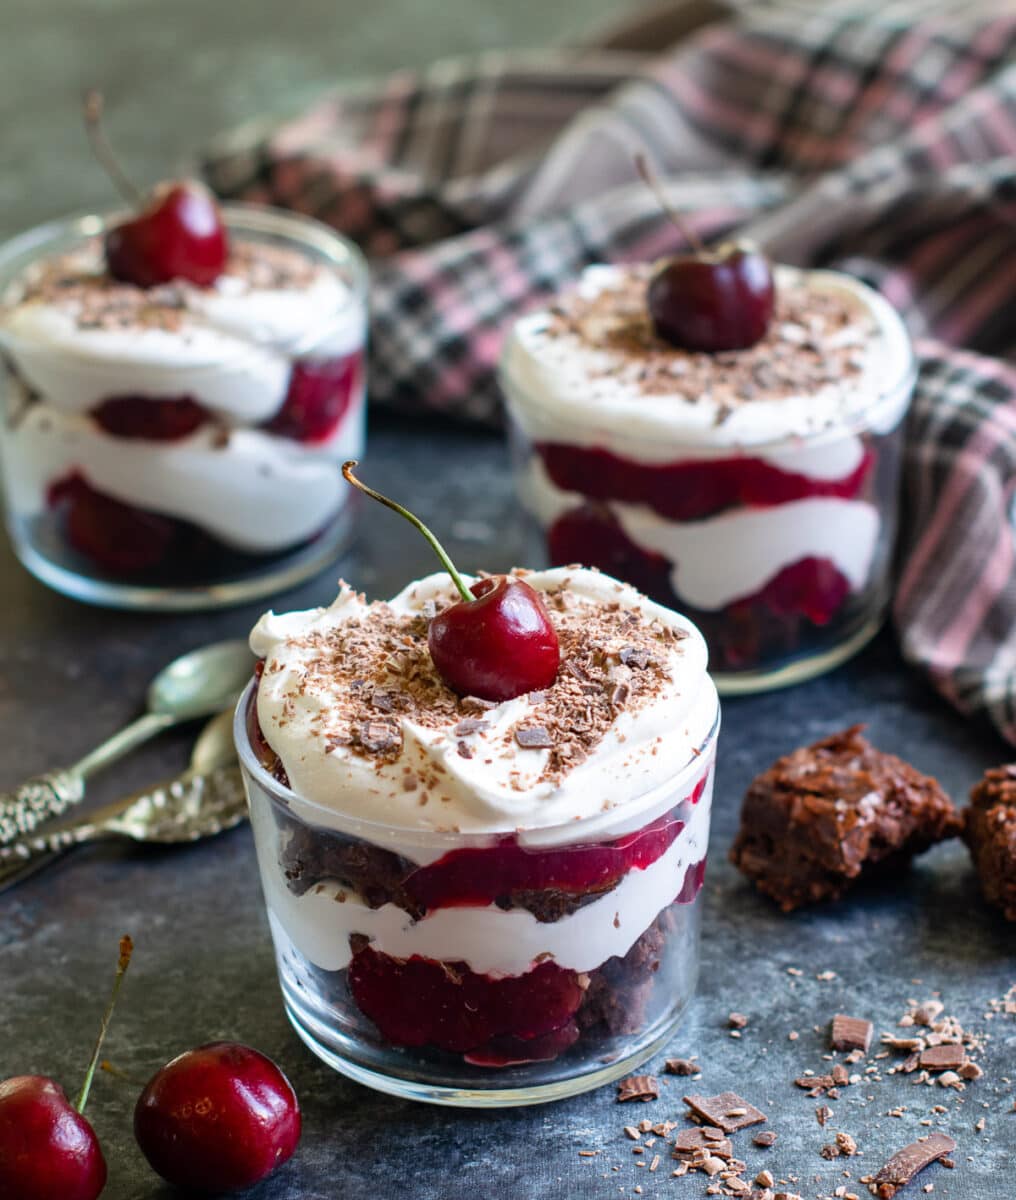
The Layers explained.
Chocolate Brownie.
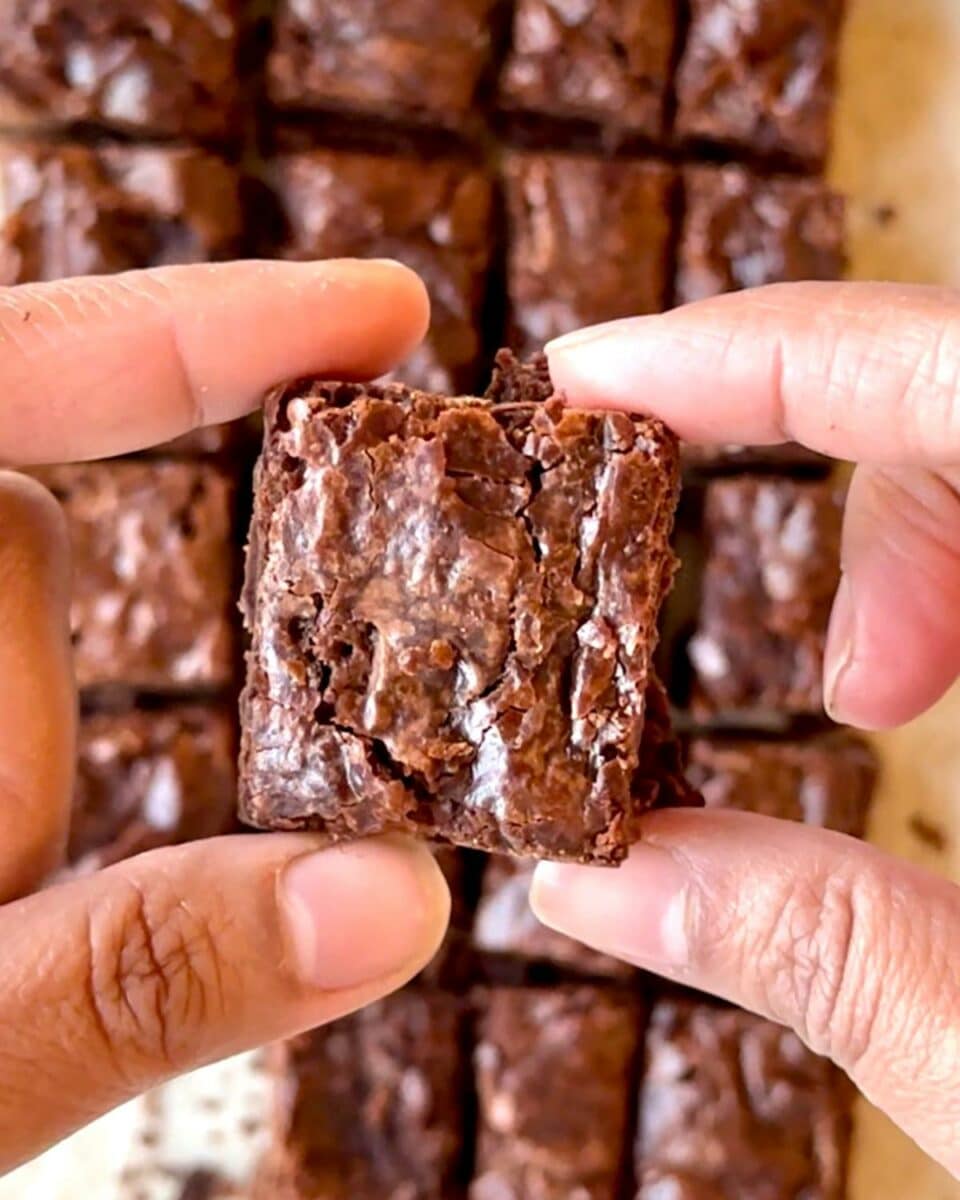
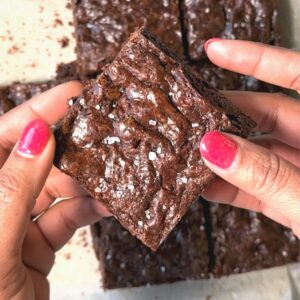
I have used my fudgy, melt-in-mouth, eggless brownie recipe for this trifle. I break the brownie into small pieces to form the bottom layer.
Cherry Filing.
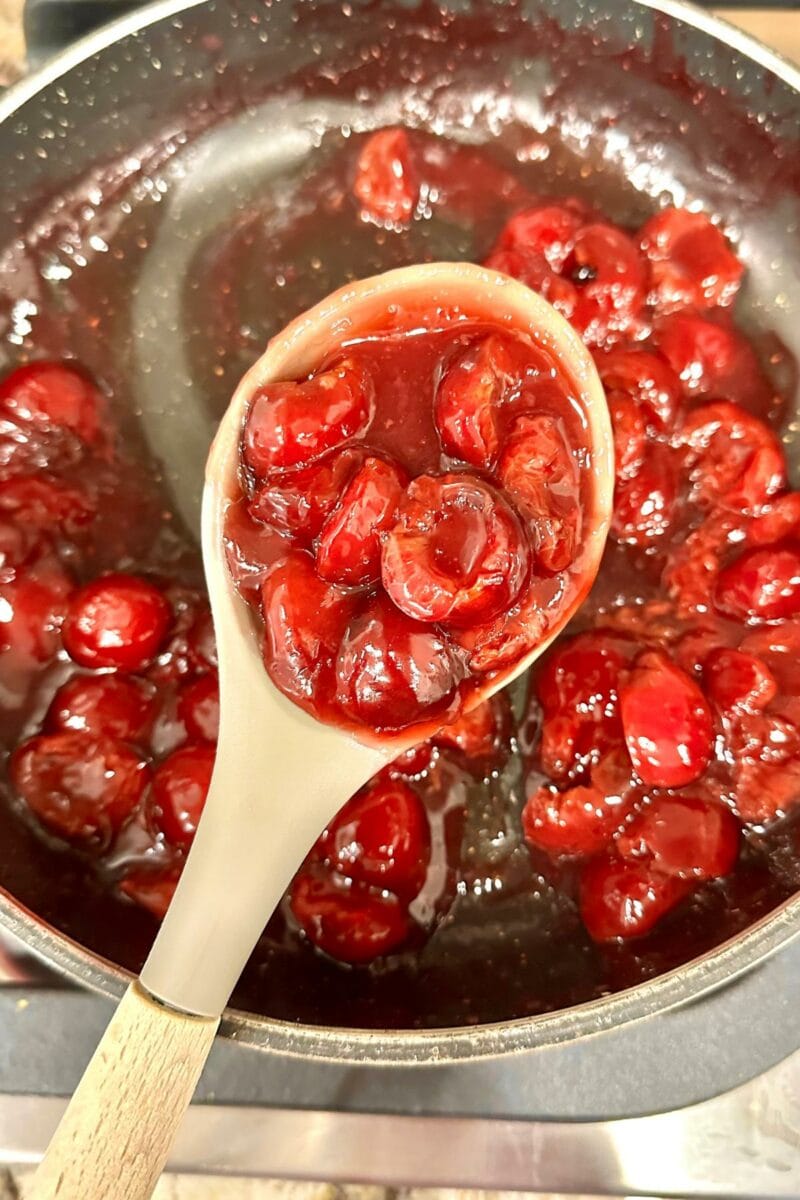
The second layer is a quick homemade cherry compote. If fresh cherries are in season I highly recommend using them. A homemade cherry pie filling can be made ahead of time and will make this trifle extra special. You can even use a frozen pack. Other alternatives are shelf-stable cherry pie filling or just Marchiano cherries.
Whipped Cream.
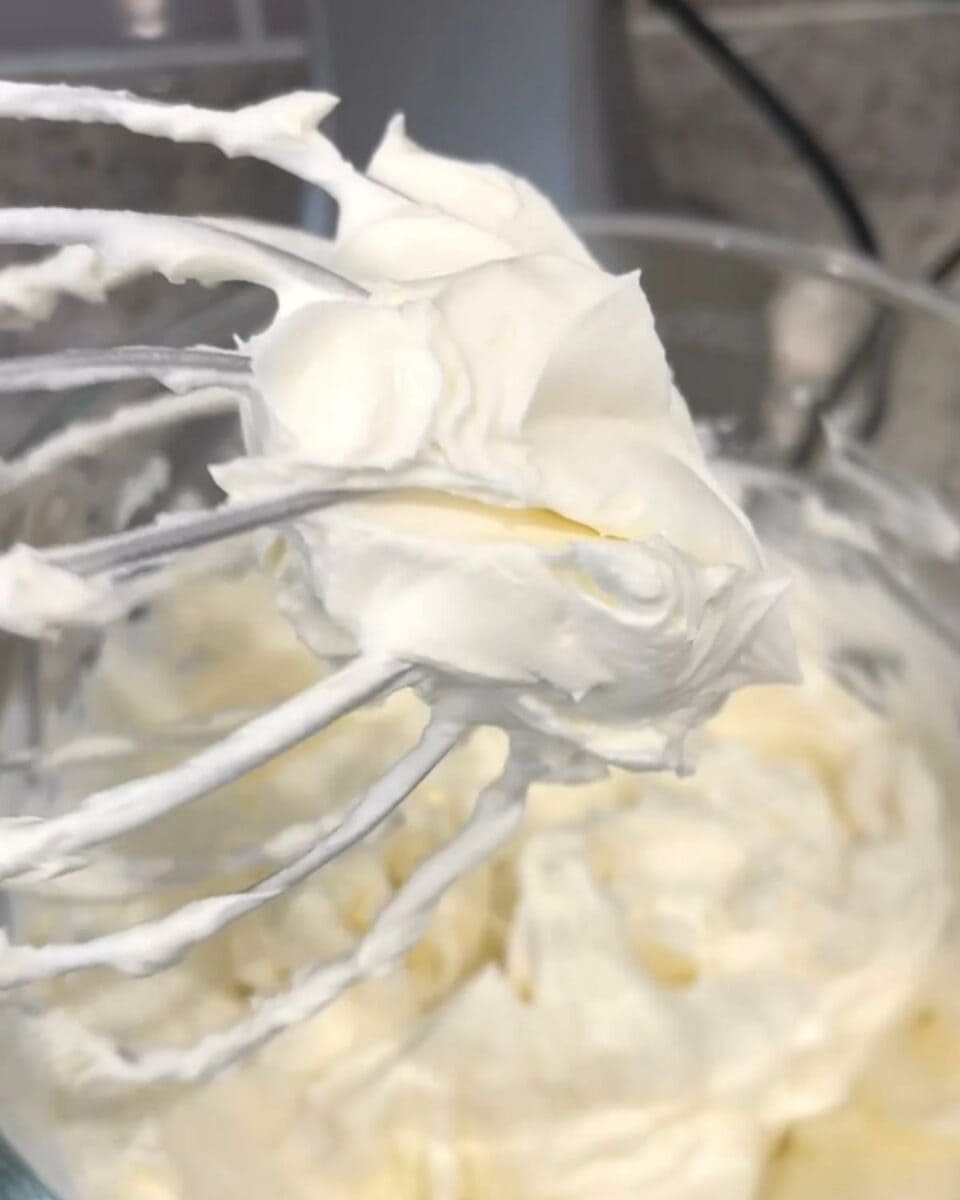
Simply whip up chilled heavy cream with vanilla and confectioners’ sugar until stiff peaks form. For an easier option use frozen topping like the cool whip original pack. I use it a lot on super busy hosting days.
Chocolate shavings.
Grated chocolate or shavings is one of the critical ingredients that make this Black forest trifle taste like the original cake. So do not skip it. I have added a layer of shavings in between the trifle as well as on the top. Check out my Eggless Black Forest recipe for the easiest way to make these shavings.
Easy hack to pit cherries.
- It took me less than 10 minutes to pit 2 cups of cherries. Wash your cherries and take out the stem.
- Now using a sturdy steel straw push it into the center of the cherry with one hand while holding the cherry firmly with the other hand. Push it in motion as if you are screwing a nail inside. The seed will pop right out.
- Repeat this process with other cherries.
- As I was running out of time I pitted the cherries a day before I actually made the filling. I placed the pitted cherries in an airtight container in the refrigerator until I made the filling.
- Making the filling the Stovetop method took me less than 15 minutes and it turned out so good.
Possible substitutes
- You can substitute every component with a store-bought one if desired.
- Swap the brownie for a chocolate cake sponge.
- Use store-bought cherry filling instead.
- Don’t like cherries, you can use this strawberry filling.
- Swap homemade whipped cream with store-bought “cool whip” topping.
Easy workflow to save time!
- As there are so many components involved in making this trifle, I am sharing how I make it for a large party with ease.
- Make brownies and freeze them up to 3 months in advance or keep them in the fridge in an airtight container for a week.
- Make the cherry filling up to 3 days in advance. Store it in the fridge until needed.
- If I am using homemade whipped cream then I whip it the very same day. You can whip it up to 1 day in advance.
- For making this dessert easier, I use frozen topping cool whip. Thaw overnight in the fridge or as directed. It works like a charm.
Can you make trifles ahead of time?
- This is the best advantage of making trifles for dessert is that you can make it ahead of time.
- I prefer making, and layering the components at least a day ahead for the flavors to soak in and mingle.
- You can assemble the trifle up to 2 days in advance.
What containers work best to serve trifle?
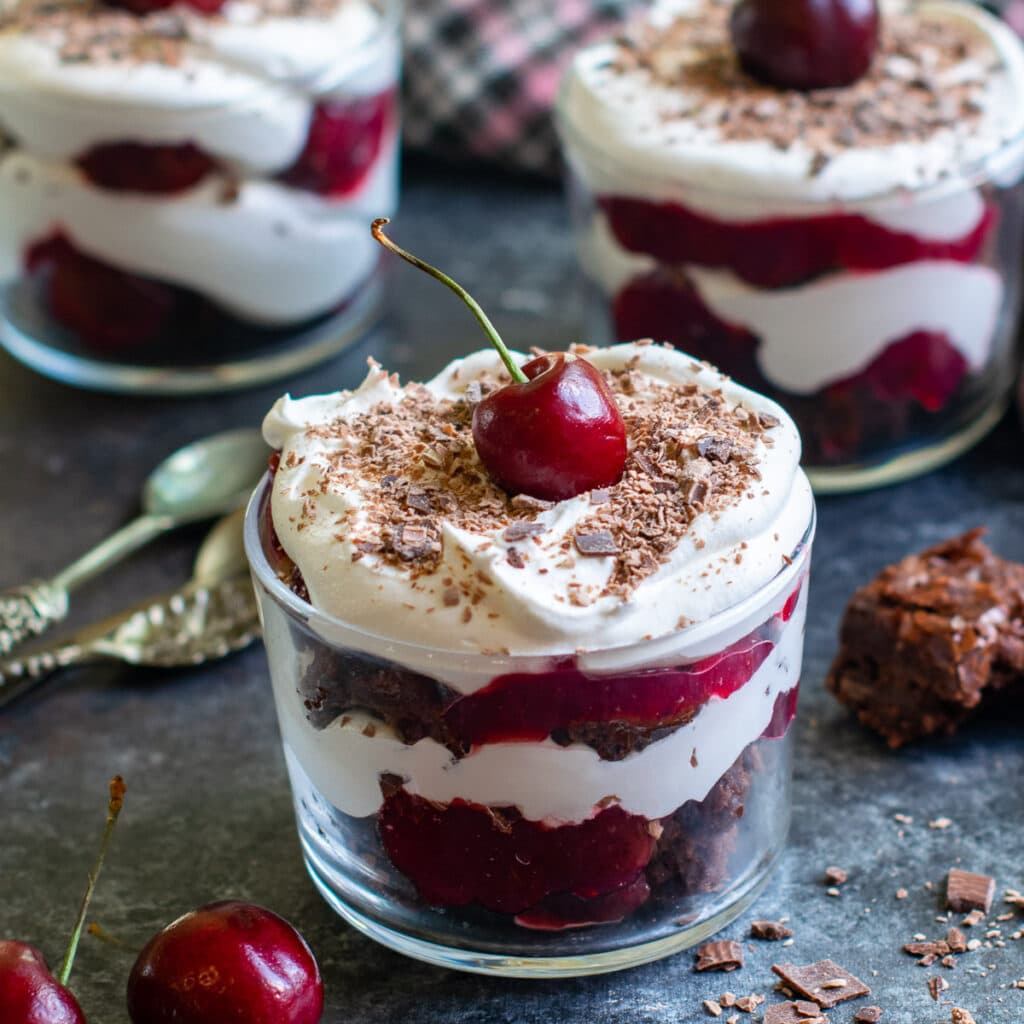
- Any type of glass or good-quality plastic container will work for individual trifles.
- I recommend using 5-7 oz glasses or cups. For catering to a large number of guests, disposable plastic containers work well. You will find many options in size and shape on amazon.
- Small glass bowls, glass mugs, and clear dessert/ice cream cups work well. As long as the containers are clear so they can show off the beautiful layers.
- You can make this trifle using one big trifle bowl as well. They come in various sizes. Choose an appropriate size depending on the serving size you need considering how many people you often host. I recommend anything around 120 oz and 7-8″ in diameter.
KEEP IN TOUCH – Are we friends yet? Let’s connect on Facebook| Instagram | Pinterest | Twitter. Never miss a recipe. Please subscribe to my blog. It is free! Check out easy recipe videos on my YouTube channel now! Pin this photo for future reference.
Unique trifle recipes to try.
Baileys Chocolate Pudding Trifle
Berry Compote Chocolate Cake Trifle
Pumpkin Pie Rice Pudding Trifle
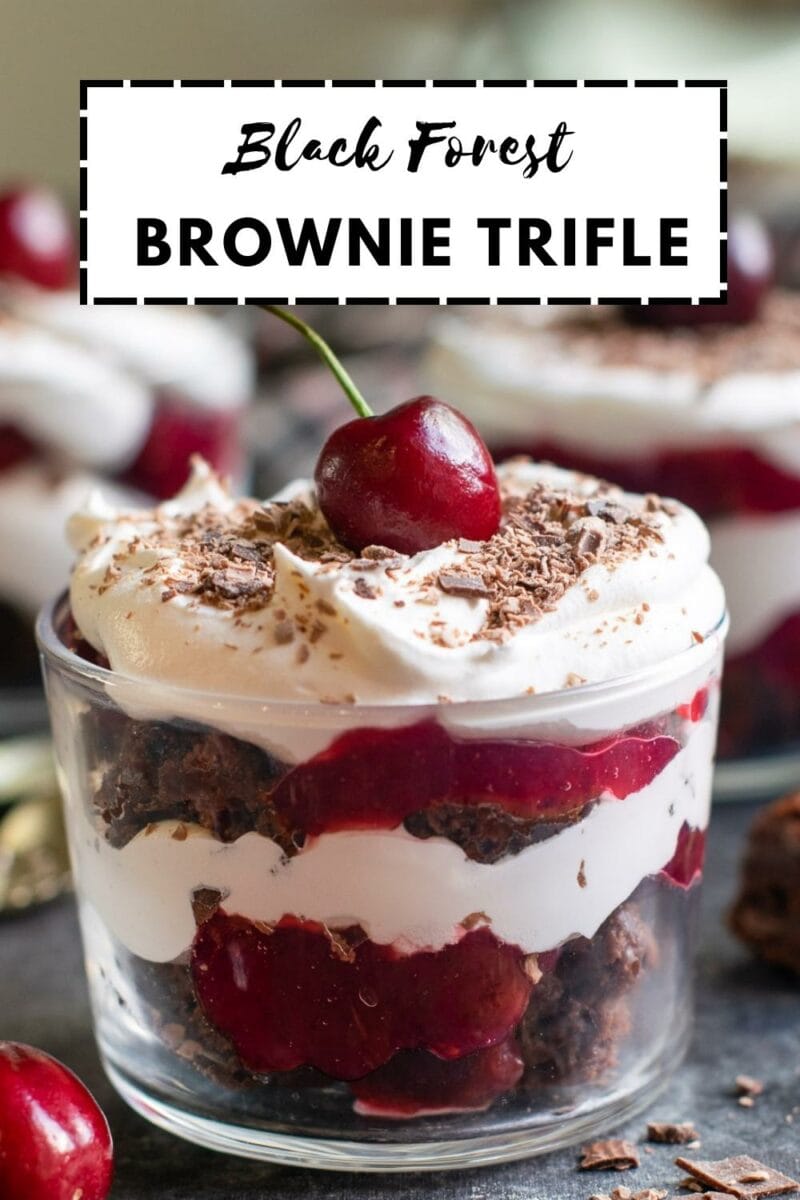
Black Forest Brownie Trifle
Ingredients
Fresh Cherry filling
- 2 cups 315g pitted cherries, if using frozen, thaw first.
- ¼ cup water
- ½ cup 98 g granulated sugar *
- 2 teaspoon lemon juice
- 1.5 tablespoons cornstarch
- ¼ cup additional water to make cornstarch paste.
For Whipped cream.
- 1.5 cups Heavy Whipping Cream
- 3 tablespoons confectioners’ sugar
- 1 teaspoon pure vanilla extract.
Instructions
For the cherry filling.
- In a saucepan over medium heat, add cherries, granulated sugar, and lemon juice. Stir to combine.
- Cover and ring to a boil.
- Now add 2 tablespoons cornstarch to ¼th cup water to make a paste. Add it to the boiling cherry mixture.
- If your cherries are not very juicy, you may want to add more water ( a few tablespoons at a time.) to get the filling to the desired consistency.
- Reduce heat to medium-low and cook for 6-8 minutes, or until the mixture has thickened. Remember to stir frequently.
- You may roughly smash a few cherries with the spoon if desired.
- You know that the filling is ready when the mixture turns into a thick chunky sauce that can coat a spoon well.
- The filling will thicken more after cooling. Keep it aside until use or refrigerate if making it ahead of time.
For whipping cream
- Make sure the heavy whipping cream is well chilled in the refrigerator. Chill the whisk and the bowl in the freezer for 15 minutes.
- Using a handheld mixer or a stand mixer fitted with a whisk attachment, whip the heavy cream, sugar, and vanilla extract on medium speed until 2 minutes.
- Once the cream starts to thicken up, increase the speed to high until soft peaks form, about 1 minute. Now lower the speed and whisk until medium to stiff peaks form.
- Be careful not to overwhip the cream or it will turn into butter.
- One way to know that the cream is done is when you see deep streaks while whisking it. The whisk attachment should hold the cream in tiff peaks that do not drip or fall flat. Refrigerate until use.
For assembling the trifle.
- Cut the brownie into small cubes, depending on the size of the trifle cup. I prefer 4-5 oz cups.
- Add a layer of brownie pieces on the bottom.
- Top it with a dollop of cherry filling and spread evenly.
- Now add a big dollop of whipped cream using a spoon or a piping bag and spread it evenly.
- Top it with a sprinkle of grated chocolate.
- Repeat this process one more time with brownie, then cherry filling followed by a whipped cream layer.
- Top the trifle with chocolate shavings and cherry as a garnish.
Notes
Possible substitutes.
- You can substitute every component with a store-bought one if desired.
- Swap the brownie for a chocolate cake sponge.
- Use store-bought cherry filling instead. Don’t like cherries, you can use this strawberry filling.
- Swap homemade whipped cream with cool whip topping.
Important tips.
- If using Kirsch, then add 2 tablespoons of it to the cherry filling after it cools down.
- Refer to my easy hack to pit fresh cherries within minute here.
- Make all the individual trifles and top them with plastic wrap before storing them in the refrigerator so that they don’t dry out.
- You can set this trifle in a big clear glass bowl or trifle pot. Chill the trifles at least for 3 hours, preferably overnight before serving.








comments and suggestions are welcome