



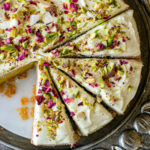


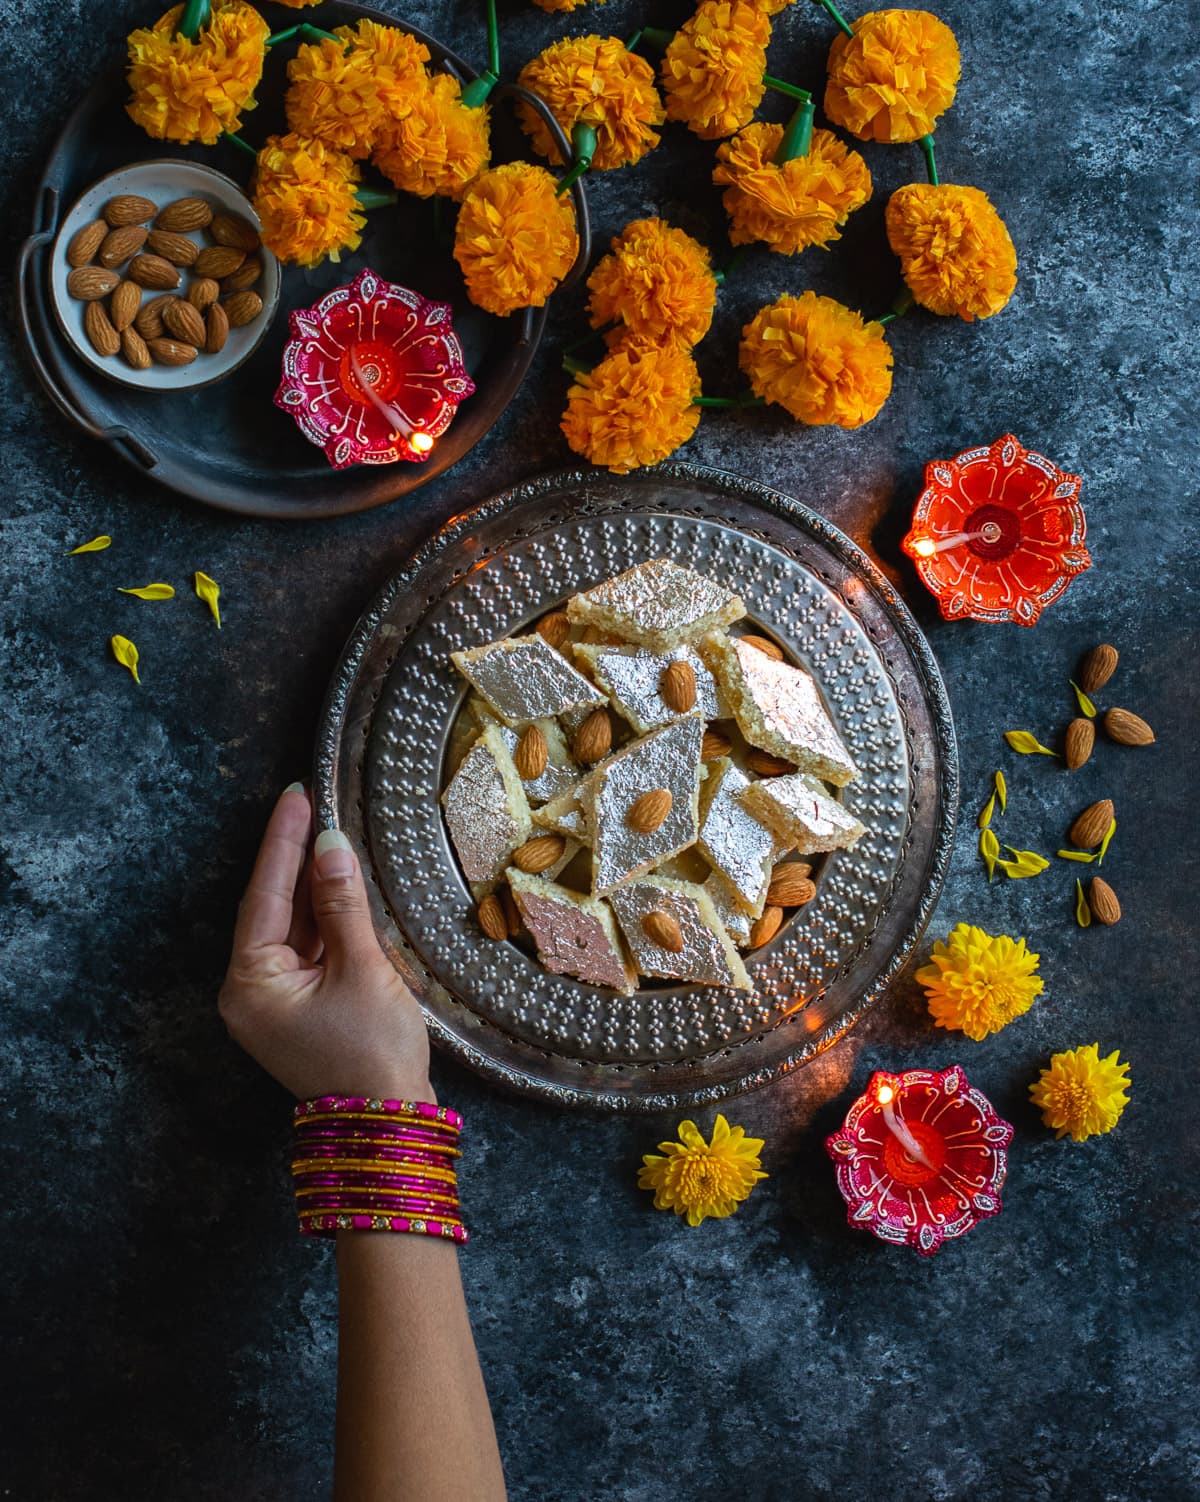
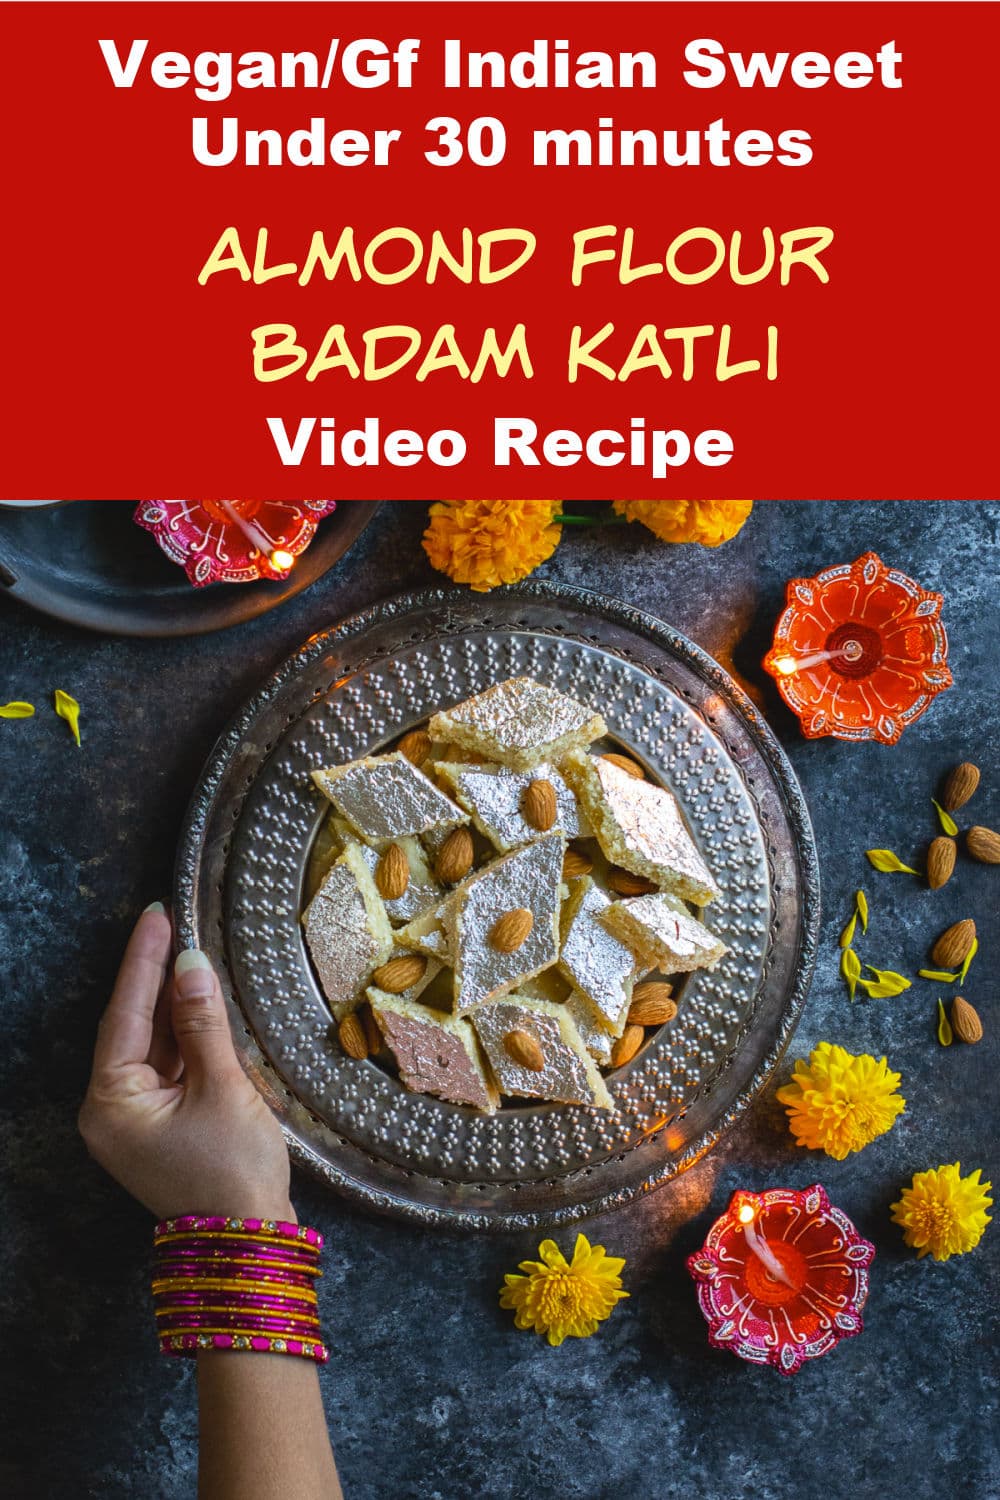
Badam Katli or Almond barfi is a royal traditional Indian sweet made using simple ingredients like almond, water, and sugar. Today I am sharing a super easy version of the same using almond flour. Just 4 main ingredients and 30 minutes.Vegan & Gluten-Free. Video recipe!
We all love instant recipes that work! If you know me you know that I love making desserts with minimal effort. Like this instant crispy jalebi and this easy rabdi recipe. These recipes use shortcuts in ingredients and methods but the final outcome is so close to the authentic.
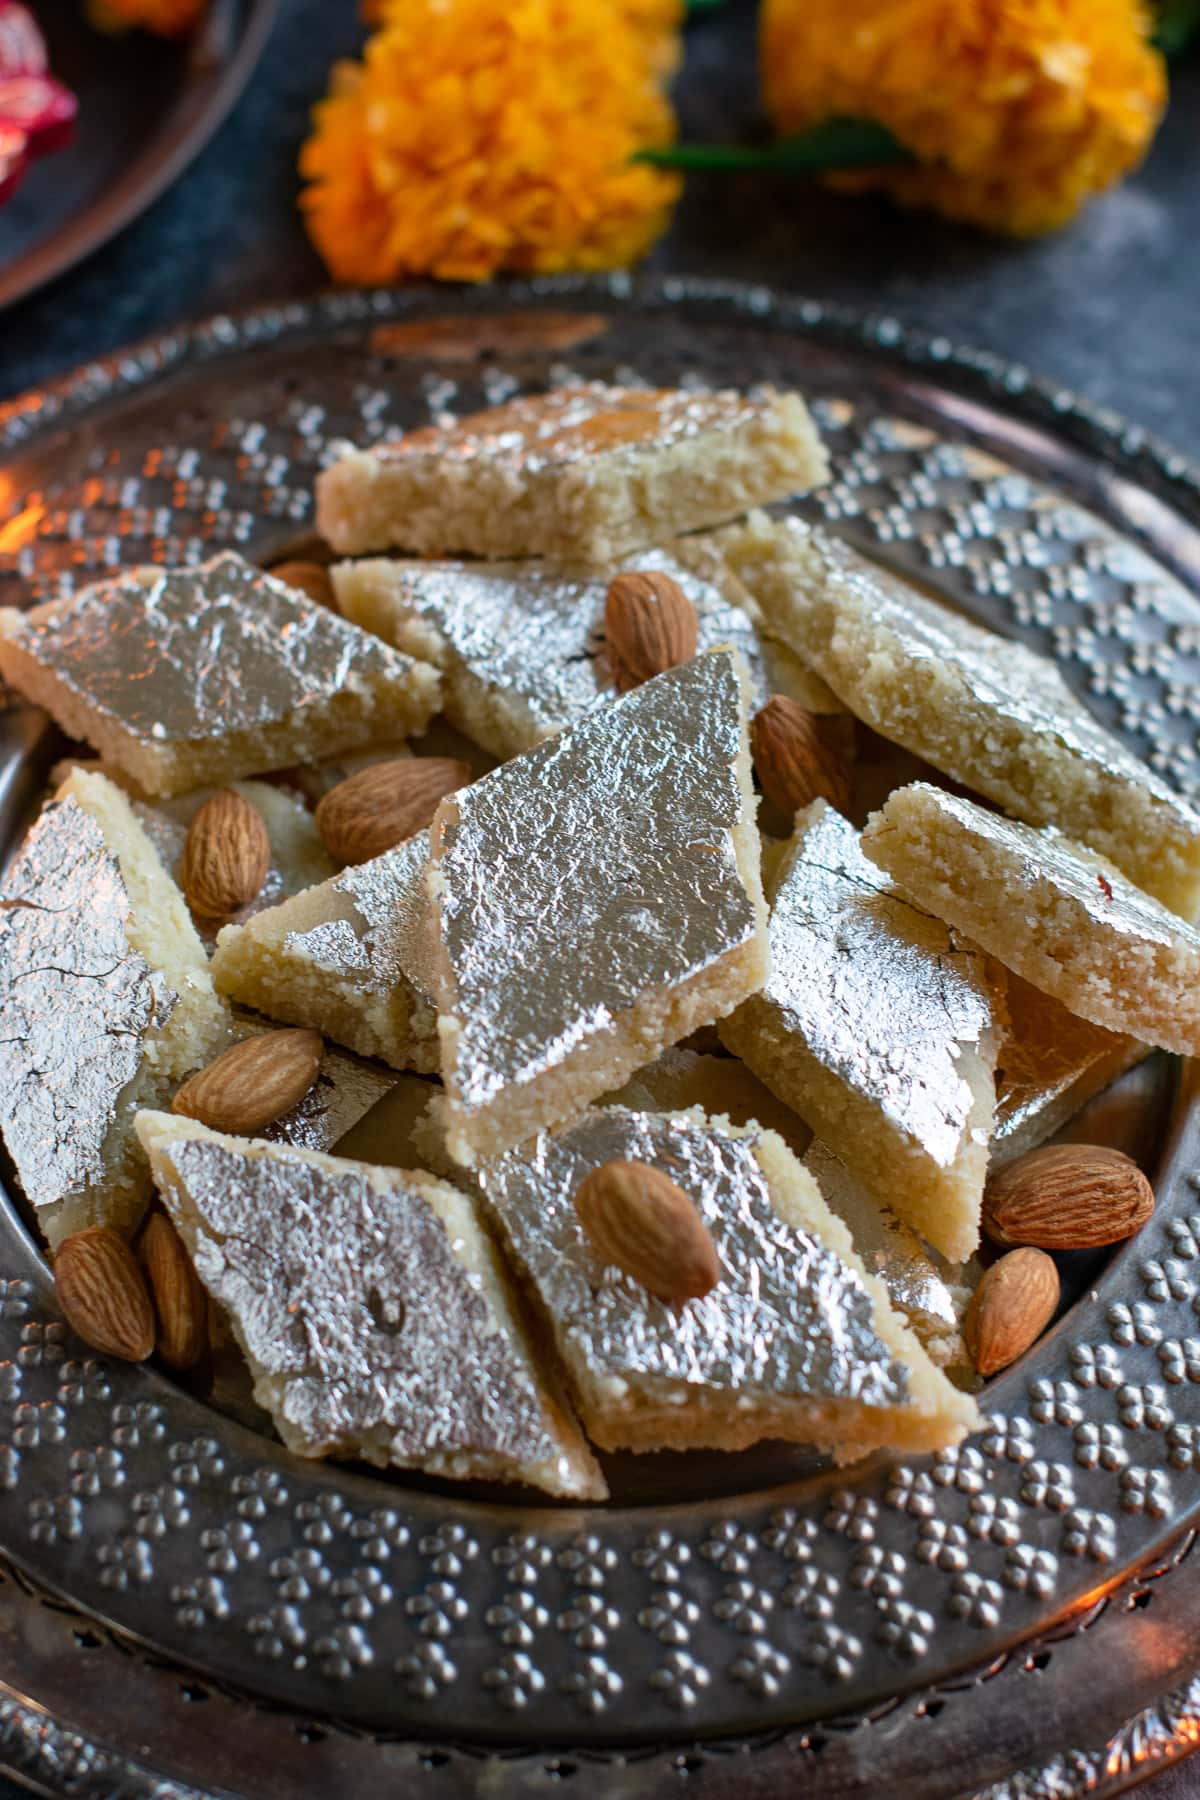
Almond flour to the rescue!
For a long time, I shied away from making badam katli because the process was so time-consuming. Traditional almond katli is made by soaking almonds and then taking the skin off each almond. I just find this method so meticulous. Sorry but I am not that patient!! Using almond flour instead will save you a lot of time and energy! And the final product tastes as amazing as the authentic one!
A vegan and gluten-free Indian mithai
Did I mention these almond burfi’s/ katlis are Vegan and Gluten-Free? It does not contain any dairy like milk, milk powder or ghee. Honesty these are not even required. It is a gem of a recipe for all those who are lactose intolerant or prefer gluten-free desserts.
We can’t even think of an Indian dessert without dairy. Mostly every mithai has milk in some or the other form. It might be khoya, milk powder, condensed milk, or cream. If you are on a plant-based diet but love eating Indian sweets then you need to hurry up and try this recipe as soon as you can.
Best Way to use the extra Almond Flour sitting in your pantry.
Making badam katlis is worth every single penny that I spent to buy a big bag of Organic Almond Flour from COSTCO. I am so addicted to making it that it has been my favorite gifting idea for any occasion.

Yes, Just 4 Main Ingredients to make badam katli!!!
Blanched Almond Flour
Almond flour is also known as almond powder, is made by blanching the almonds. Taking out their skin, drying, and then grinding them to form a very fine powder. Almond meal is different, it’s coarser so do not use that.
Use really fine ground flour, like the one at COSTCO. Almond meal doesn’t work here it is coarse. I have used Walmart Almond Flour too which is a bit coarse and my burfi’s turned out just fine. Tasted good but not very smooth.
Sugar
I have used organic white granulated sugar which is Vegan. Do not use powdered or confectioners’ sugar here.
Water
Just some filtered water to mix with sugar to create the sweet liquid to mix the almond flour with.
Coconut oil
For keeping the barfi/ katli soft even after storing it in the fridge. Coating the almond flour dough with coconut oil helps it to be less sticky and easier to roll out. Traditionally ghee is used, but as this recipe is vegan I am using coconut oil. You can use vegetable shortening as well.
Saffron
Saffron is highly used in Indian sweets. It imparts a beautiful color and flavor to the katlis here. I know how expensive it is, so you can opt out. So, it is completely optional.
Cardamom
I can’t think of making Indian sweets without cardamom. It is the taste booster just like vanilla is for cakes. If you are not using saffron, at least use cardamom. Please do not skip it.
Chandi varak/ edible leaf
Do not use foil paper or silver leaf for craft purposes. Only use food-grade edible, FDA-approved edible leaf. In the USA, I get it from Amazon.
What is Chaandi ka Varak?
Varak is food grade thin silver sheet put on the Indian desserts to make them more attractive. Varak is tasteless and just put to jass up the sweets. Alternatively, it is called as varq, vark, warakh, varak, varakh or edible silver leaf.
Is Silver Varak vegetarian?
A decade back, Varak used to be non-vegetarian. The conventional method used silver metal to be beaten between sheets of animal skin and processed intestine. But now this edible leaf is machine-made and acceptable to consume by Vegetarians and Vegan.
Simple hack to get the varak / edible leaf to stick to sweets.
It gets frustrating sometimes if the varak doesn’t adhere to the sweets. Simply brush the surface of the mithai lightly with coconut oil (vegan) or ghee (dairy) and then proceed with sticking the leaf. Gently dab the leaf with cotton or soft cheesecloth to get a flat clean look.
Steps in making Badam Katli / Almond Flour Barfi
Prepare the Rolling Station
- Make sure you have two big pieces of parchment or wax paper ready.
- You will also need a rolling pin.
- Some coconut oil to lightly grease the parchment.
- Keep a very sharp knife and edible leaf on hand as well.
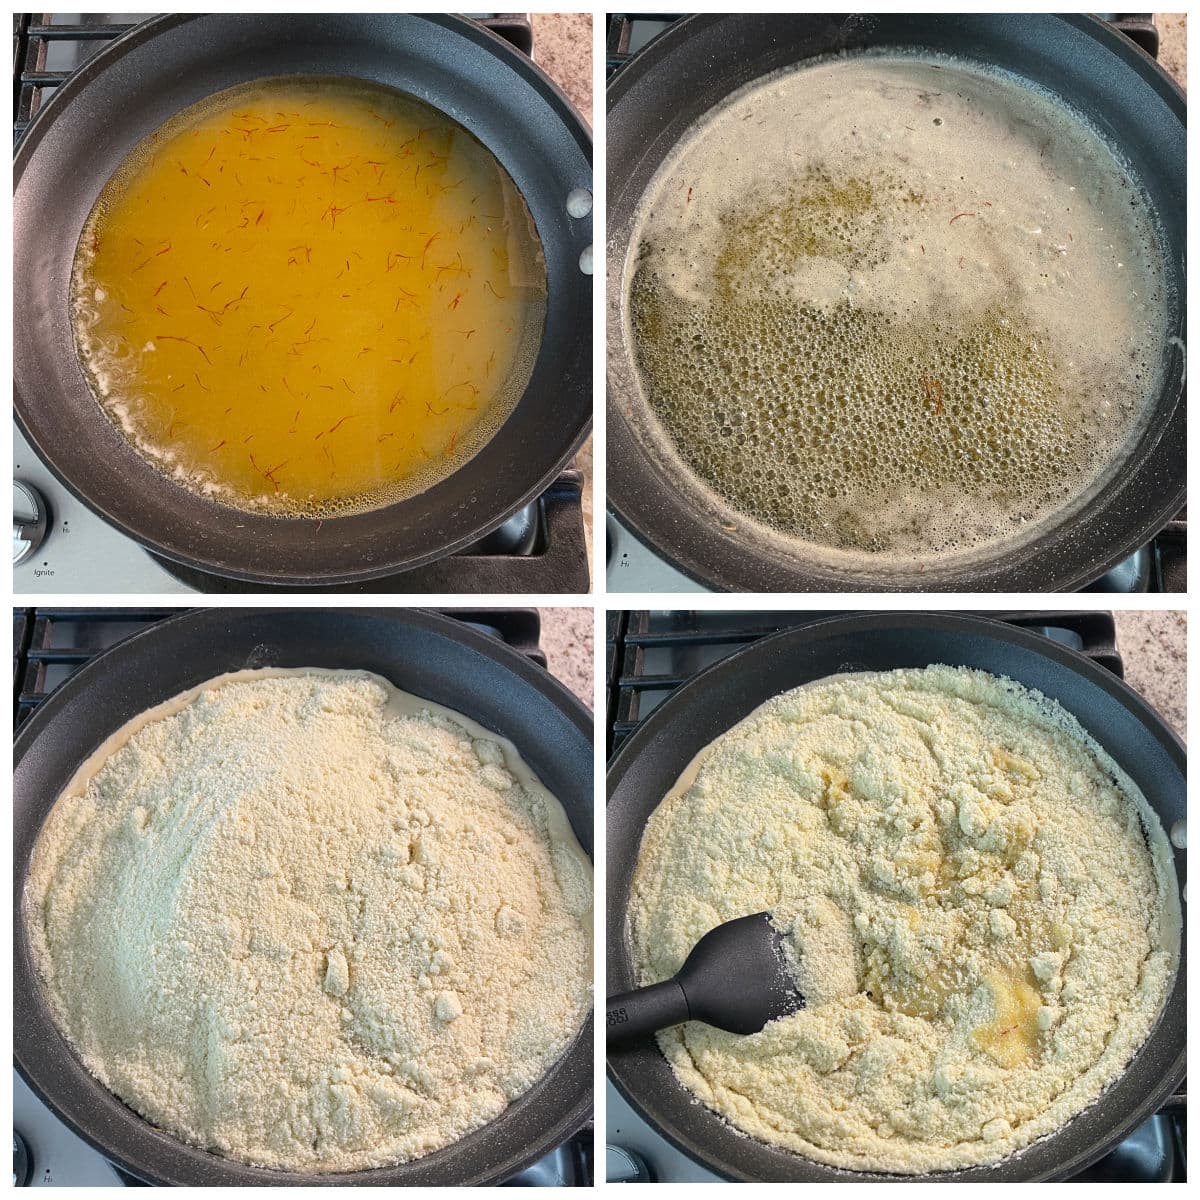
Make the Almond Flour Dough
- In a non-stick flat bottom pan bring water and sugar to a boil.
- Once it comes to a rolling boil i.e when you see a lot of bubbles it is time to add the almond flour.
- So, lower the flame to the lowest setting and add flour carefully. Once all the flour is added to the sugar syrup, increase the flame to medium and constantly stir the mixture scrapping the sides too.
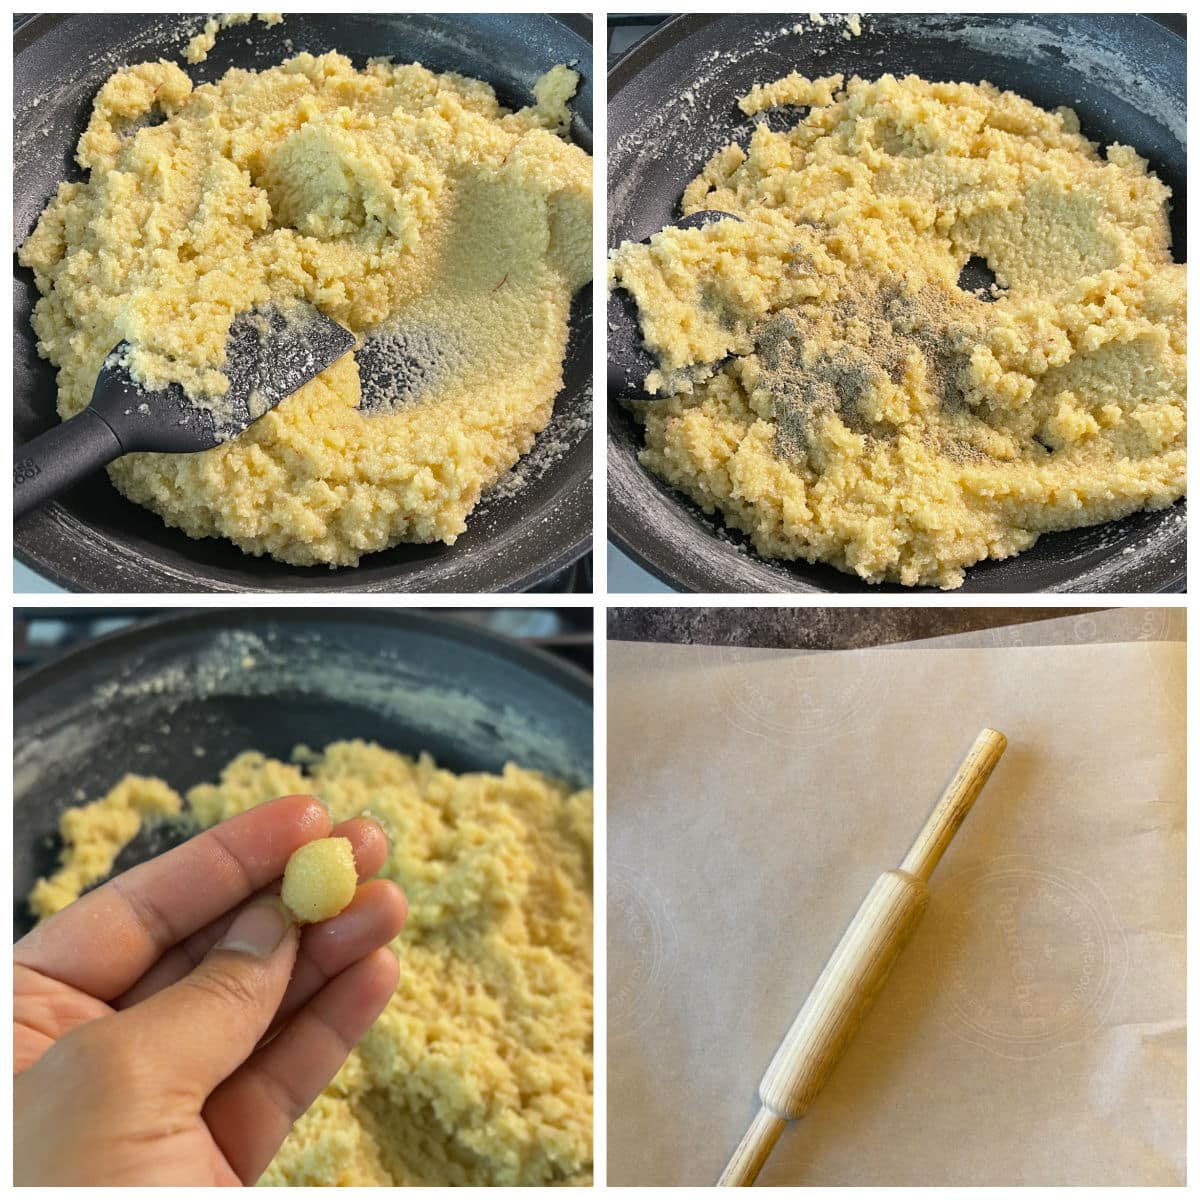
- Cook for 3 minutes and then add cardamom.
- At first, it will look like halwa. Now add in 1 tablespoon coconut oil and stir well. Within 5-7 minutes of cooking, it will come together.
- To know if the dough is ready to roll out, carefully spoon out a bit of the mixture and cool it on a plate for few seconds. Now grease your fingers with some oil and try to roll the dough between your fingers.
- If it forms a smooth ball then the almond flour dough is ready to be rolled.
- If it doesn’t hold up then cook it for extra 2-3 minutes then proceed.
- Now switch off the flame and take it off the gas and place it on a heat-resistant pad to cool it a bit so that it is easy to handle.
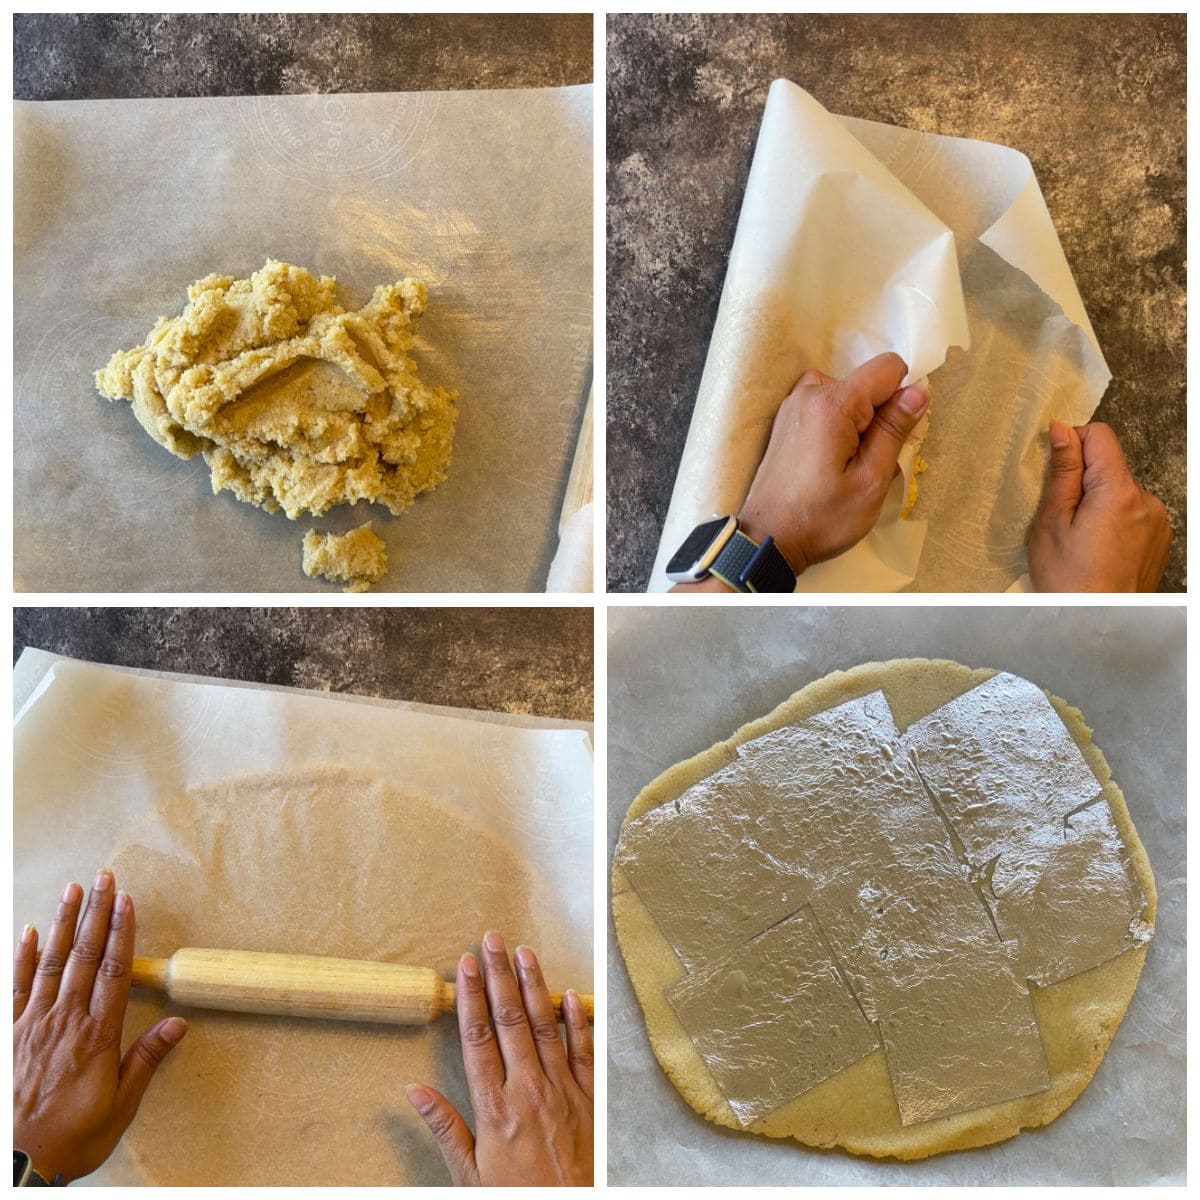
Rolling the prepared almond dough to make Badam Katli
- When the dough is just warm enough to handle, scoop it all over on one parchment paper.
- Pat it flat with your spatula or your fingers. As the dough will be fairly warm you can knead it holding the greased parchment paper or grease your hands liberally with coconut oil and knead it with your hands for 1 minute.
- Once done place the dough in the center of one parchment sheet. Now place another parchment on the top and gently pat it down with your fingers to flatten it a bit. Next, roll it into a long oval or a rectangle.
- Make sure you roll it evenly or you will get thick and thin burfis.
- Roll it approximately ¼” thick. You can do ½” thickness too if desired.
- If you intend to apply varak/ edible silver leaf then do it immediately after rolling and the dough being a bit warm.
- If by any chance the dough cools down and the edible leaf does not adhere then lightly dab it with some coconut oil using your fingers.
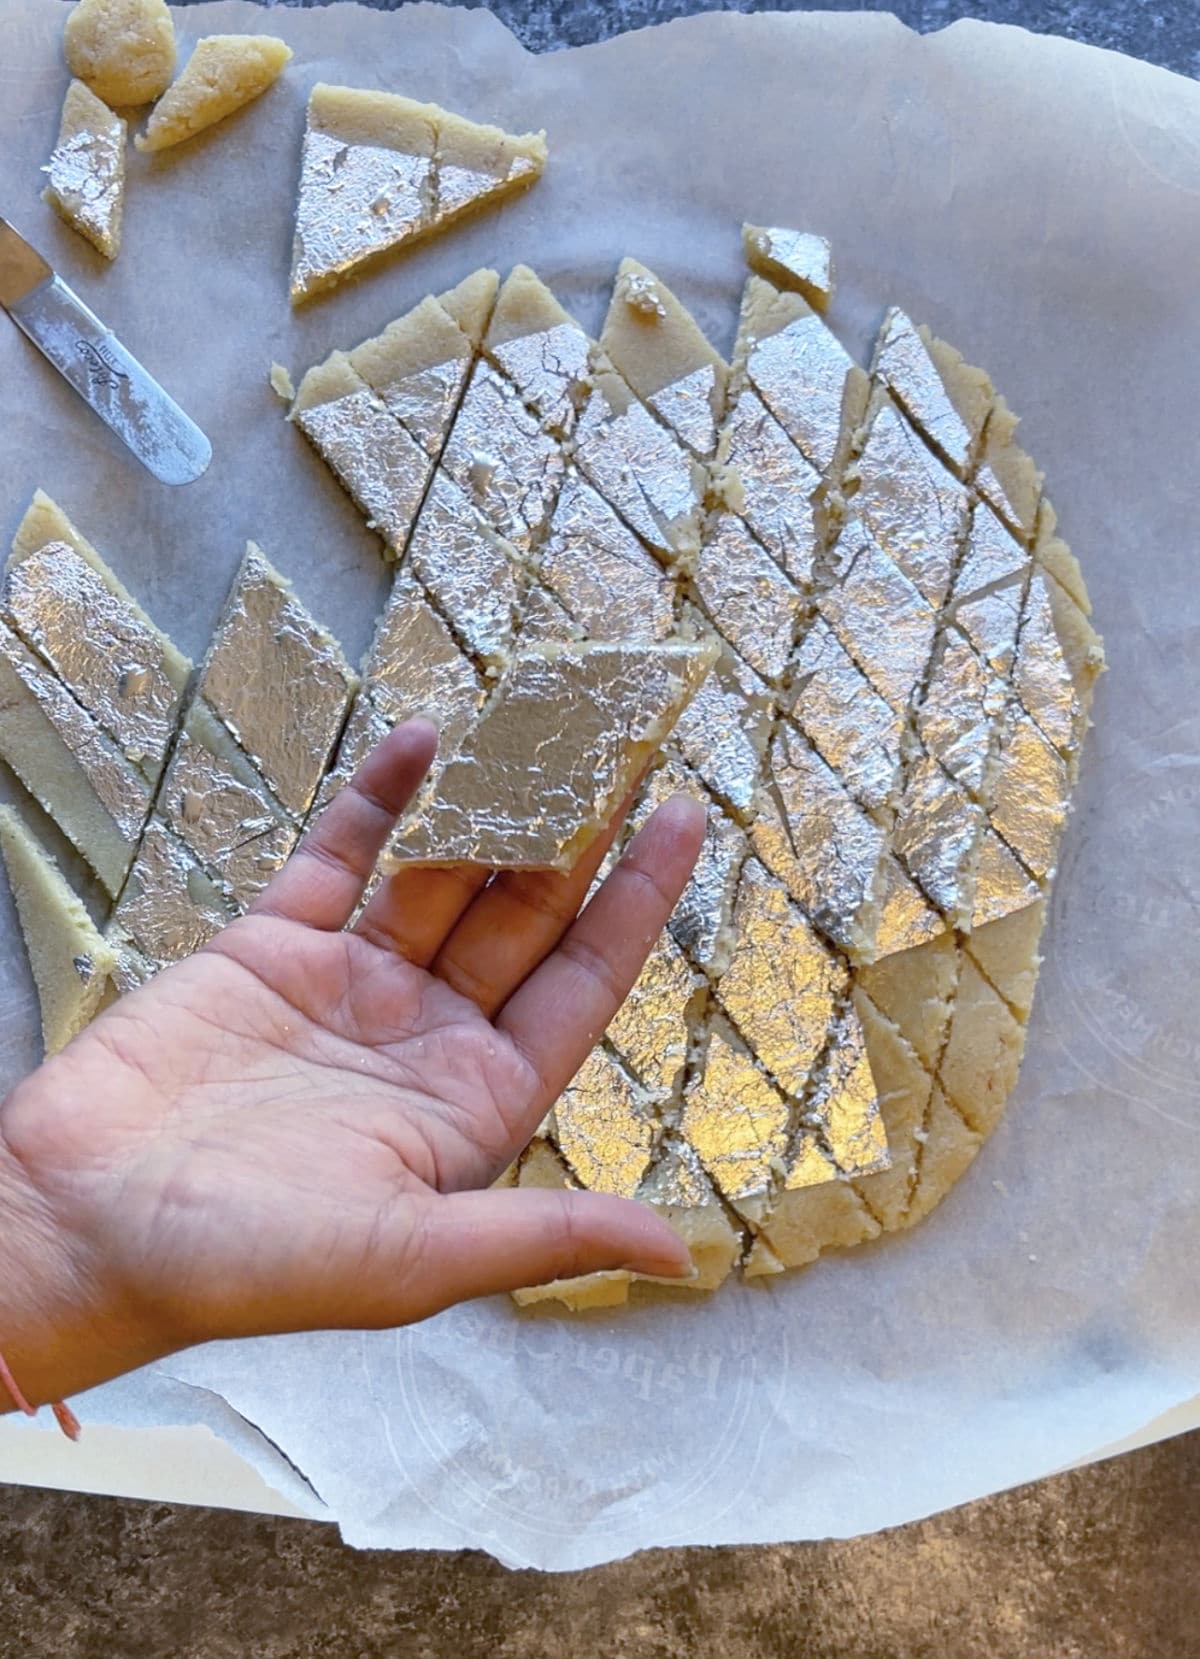
- Now use a sharp knife or a pizza cutter that is a roller to cut diamond pieces.
- So, you will first cut diagonally and then cut horizontally to get a nice diamond shape.
- You can even cut it square like barfis if preferred so. You will be left with some unfinished katlis that you can reroll and form more katlis or eat as is.
- After cutting, let the katli’s stay intact and do not attempt to take it off. They will tend to break as they are still soft. Let it dry for at least 10 minutes to set it completely before storing.
Important tips to make amazing badam katli
- Use almond flour and not almond meal.
- Use a non-stick pan to avoid the almond flour sticking and burn on the bottom.
- Make sure that the sugar dissolves completely with water before adding the flour.
- Add the almond flour once you see a lot of bubbles in sugar water.
- Turn the gas to a very low setting once you add the flour and stir constantly to prevent it from turning grainy.
- Kneading is very important for smooth katlis.
- Roll it when the dough is still warm or easy to handle. Do not let it cool completely or it will form cracks while rolling.
- Immediately put varak/ edible leaf when it is still warm. If the mixture cools down, varak won’t stick to it.
- The preferred tool for cutting the katlis is the roller pizza cutter or a very sharp knife to get clean edges of the katlis.
Possible substitutes that work well!
- You may add a teaspoon of rosewater or kewra, mix it with water and sugar.
- Skip saffron if unavailable.
- You can use edible gold vark instead or skip it completely.
- Swap coconut oil with vegetable shortening or ghee if you consume it.
When should you make Almond Flour Barfi?
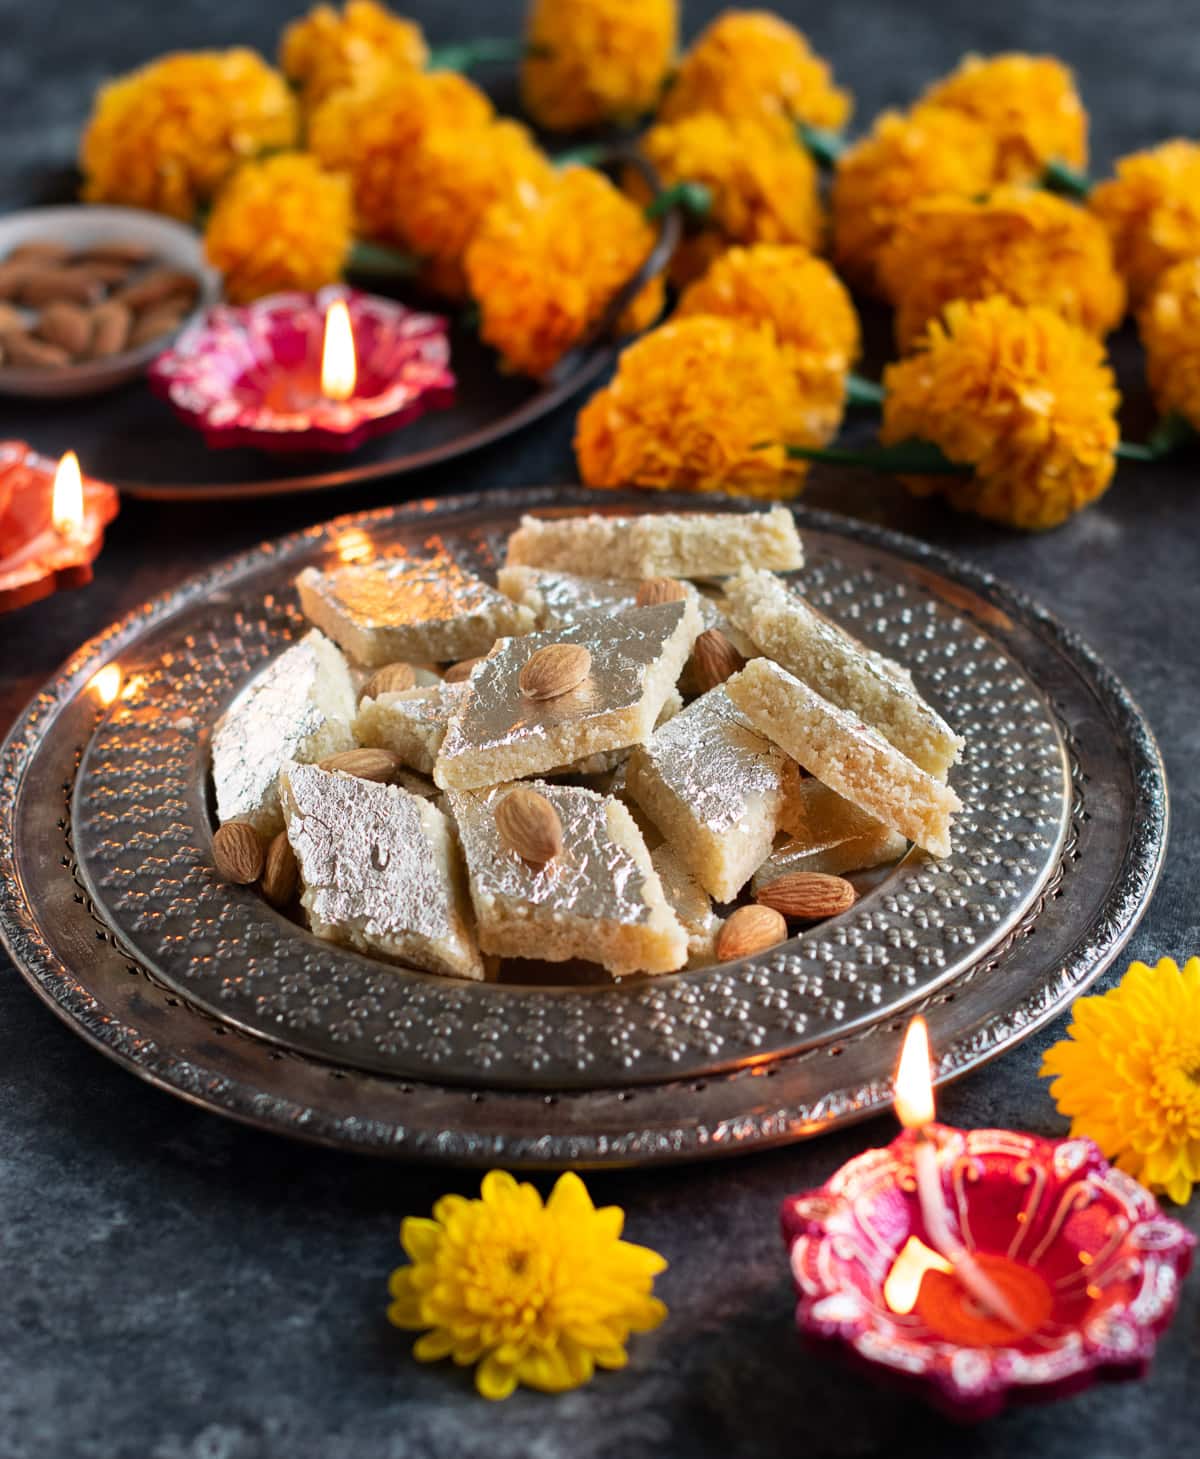
These diamond-shaped mithai make impressive holiday gifts. I love making it on special occasions like Diwali, Holi, or any social gathering. Whenever my kids want to have a mithai, I prefer making this super easy recipe which is ready using few ingredients and less time. My new favorite thing to do with these katli’s are to make them in bulk, pack it beautifully and give them as holiday gifts.
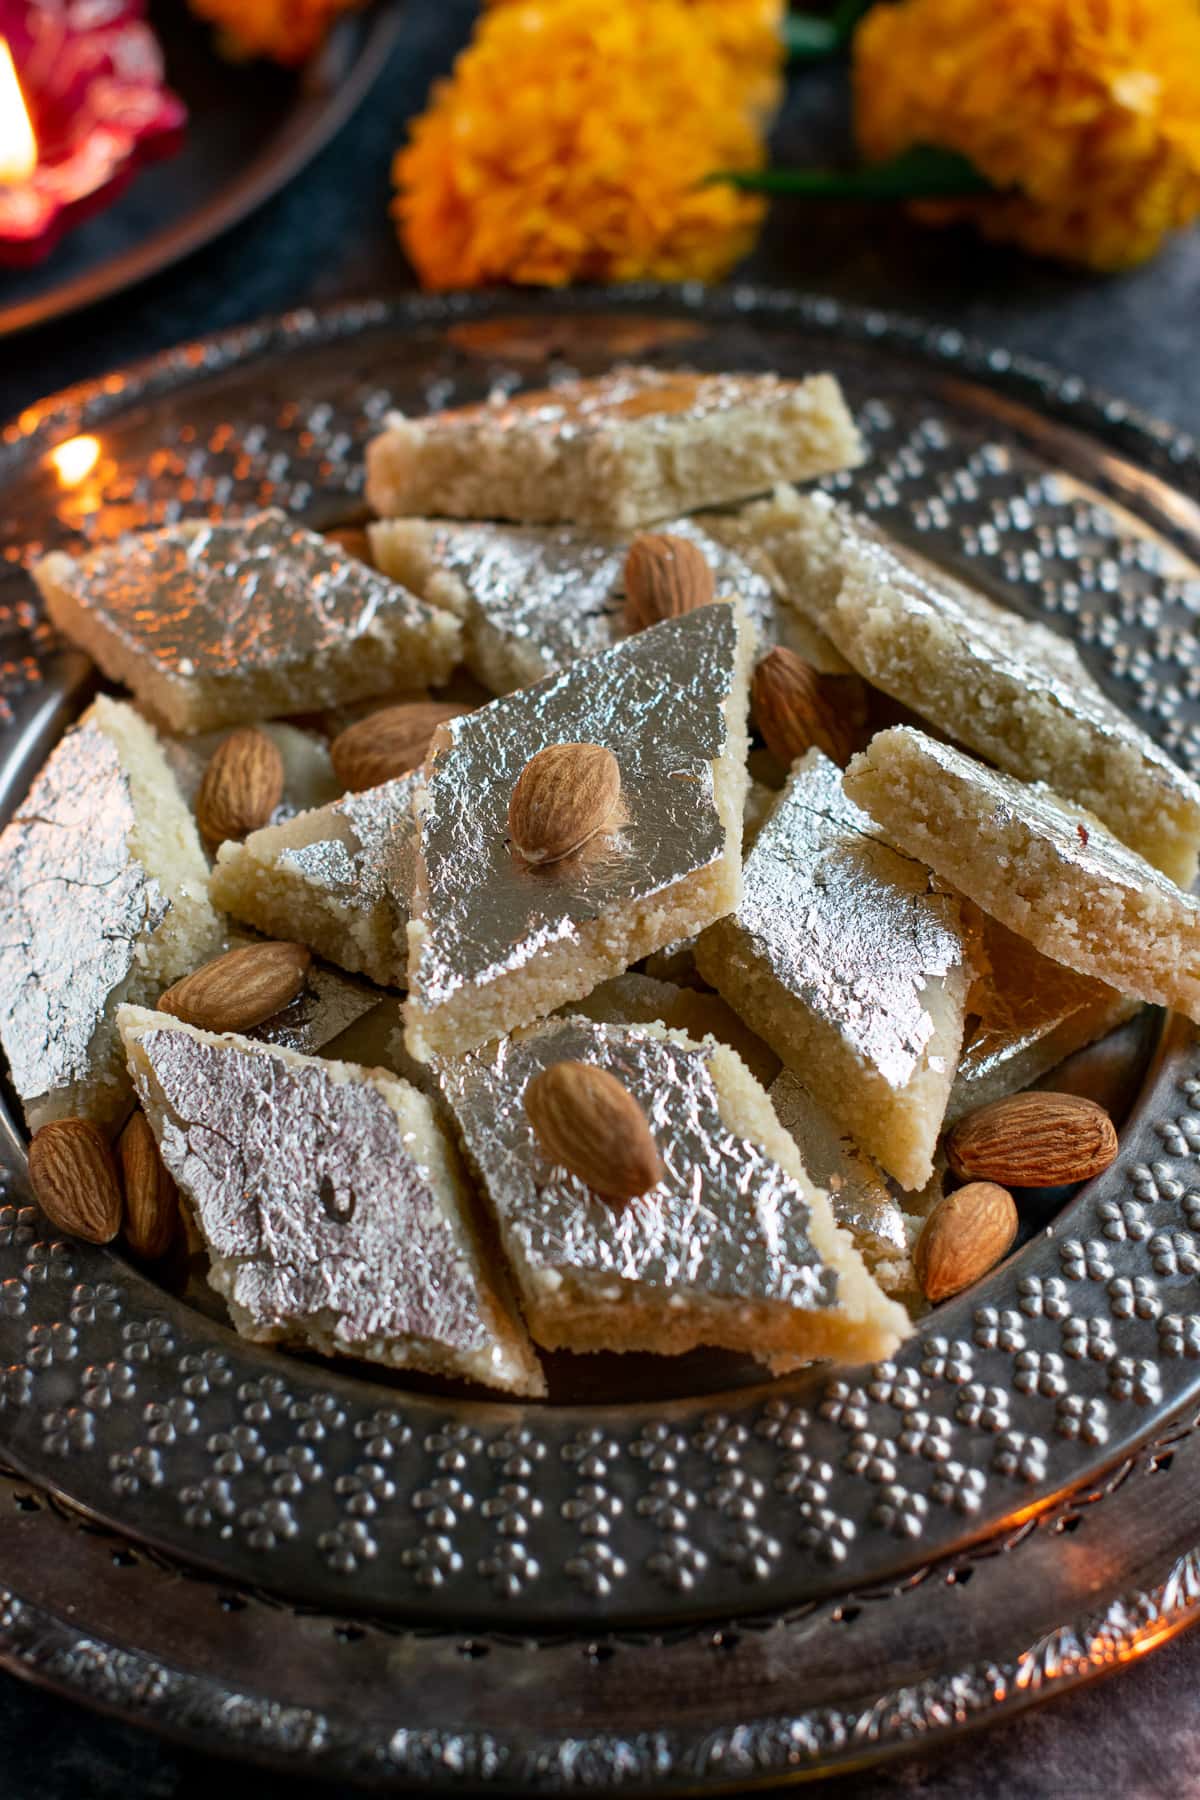
Best way to store Badam Katli
- After the katlis cool down immediately transfer them into an airtight container.
- This sweet will stay well at room temperature for 3 days.
- Store it in the fridge for up to 10 days
- You can freeze almond flour barfi in a freezer-safe box or ziplock for up to 3 months. Thaw for an hour at room temperature.
- Do not microwave the katlis at any time if you are going to use an edible silver leaf over it.
KEEP IN TOUCH – Are we friends yet? Let’s connect on Facebook| Instagram | Pinterest | Twitter. Never miss a recipe. Please subscribe to my blog. It is free! Pin this photo for future reference.
Awesome Vegan & Gluten-Free desserts to try –
Homemade Badam Katli Recipe
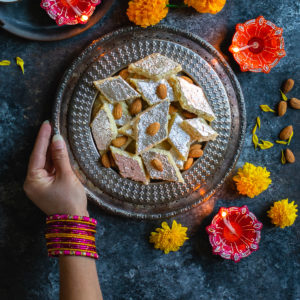
Almond Flour Badam Katli (Vegan & Gluten-Free)
Ingredients
- 215 grams 1 cup organic granulated sugar
- 115 ml ½ cup water
- 224 grams 2 cups blanched almond flour
- 1.5 tablespoons coconut oil divided
- ½ teaspoon saffron strands optional
- ½ teaspoon cardamom ground
Instructions
Prepare the Rolling Station
- Make sure you have two big pieces of parchment or wax paper ready.
- You will also need a rolling pin.
- Some coconut oil to lightly grease the parchment.
- Keep a very sharp knife and edible leaf on hand as well.
Prepare the Almond Flour Dough
- In a non-stick flat bottom pan bring water and sugar to a boil.
- Once it comes to a rolling boil i.e when you see a lot of bubbles it is time to add the almond flour.
- So, lower the flame to the lowest setting and add flour carefully.
- Once all the flour is added to the sugar syrup, increase the flame to medium and constantly stir the mixture scrapping the sides too.
- Cook for 3 minutes and then add cardamom.
- At first, it will look like halwa. Now add in 2 teaspoons coconut oil and stir well.
- Within 5-7 more minutes of cooking, it will come together.
- To know if the dough is ready to roll out, carefully spoon out a bit of the mixture and cool it on a plate for few seconds. Now grease your fingers with some oil and try to roll the dough between your fingers. If it forms a smooth ball then the almond flour dough is ready to be rolled.
- If it doesn’t hold up then cook it for extra 2-3 minutes on low heat and then proceed.
- Now switch off the flame and take it off the gas and place it on a heat-resistant pad to cool it a bit so that it is easy to handle.
Rolling the prepared almond dough to make Badam Katlis
- When the dough is just warm enough to handle, scoop it all over on one parchment paper.
- Pat it flat with your spatula or your fingers. As the dough will be fairly warm you can knead it holding the greased parchment paper or grease your hands liberally with coconut oil and knead it with your hands for 1 minute.
- Once done place the dough in the center of one parchment sheet. Now place another parchment on the top and gently pat it down with your fingers to flatten it a bit. Next, roll it into a long oval or a rectangle.
- Make sure you roll it evenly or you will get thick and thin burfis.
- Roll it approximately ¼” thick. You can do ½” thickness too if desired.
- If you intend to apply varak/ edible silver leaf then do it immediately after rolling and the dough being a bit warm.
- If by any chance the dough cools down and the edible leaf does not adhere then lightly dab it with some coconut oil using your fingers.
- Now use a sharp knife or a pizza cutter that is a roller to cut diamond pieces. If the dough sticks to the knife while cutting you can lightly grease it.
- So, you will first cut diagonally and then cut horizontally to get a nice diamond shape.
- You can even cut it square like barfis if preferred so. You will be left with some unfinished katlis that you can reroll and form more katlis or eat as is.
- After cutting, let the katli’s stay intact and do not attempt to take it off. They will tend to break as they are still soft. Let it dry for at least 10 minutes to set it completely before storing.
Step by Step video of the recipe -
Notes
Important tips to make amazing badam katli
- Use almond flour and not almond meal.
- Use a non-stick pan to avoid the almond flour sticking and burn on the bottom.
- Make sure that the sugar dissolves completely with water before adding the flour.
- Add the almond flour once you see a lot of bubbles in sugar water.
- Turn the gas to a very low setting once you add the flour and stir constantly to prevent it from turning grainy.
- Kneading is very important for smooth katlis.
- Roll it when the dough is still warm or easy to handle. Do not let it cool completely or it will form cracks while rolling.
- Immediately put varak/ edible leaf when it is still warm. If the mixture cools down, varak won’t stick to it.
- The preferred tool for cutting the katlis is the roller pizza cutter or a very sharp knife to get clean edges of the katlis.
- You may add a teaspoon of rosewater or kewra, mix it with water and sugar.
- Skip saffron if unavailable.
- You can use edible gold vark instead or skip it completely.
- Swap coconut oil with vegetable shortening or ghee if you consume it.
- After the katlis cool down immediately transfer them into an airtight container.
- This sweet will stay well at room temperature for 3 days.
- Store it in the fridge for up to 10 days
- You can freeze almond flour barfi in a freezer-safe box or ziplock for up to 3 months. Thaw for at least 1 hour at room temperature for it to be soft again.
- Do not microwave the katlis at any time if you are going to use an edible silver leaf over it.
Can you please tell me which chandini vrak you use from amazon? I found several but none of them say FDA approved.
Look for edible food grade one. FDA approval is not on varak.