


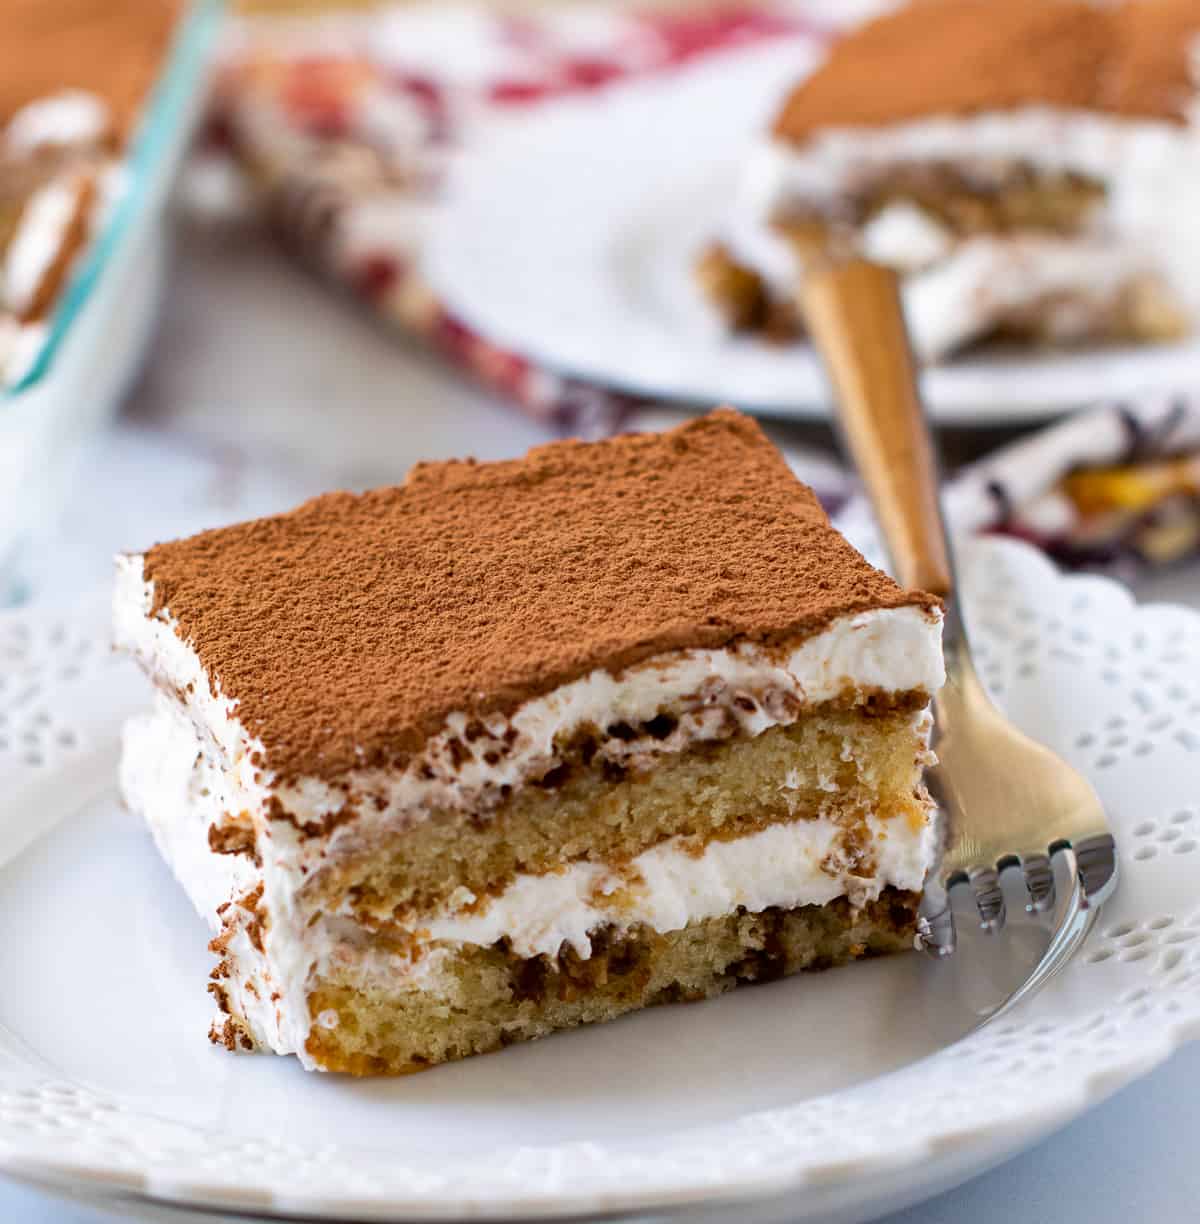
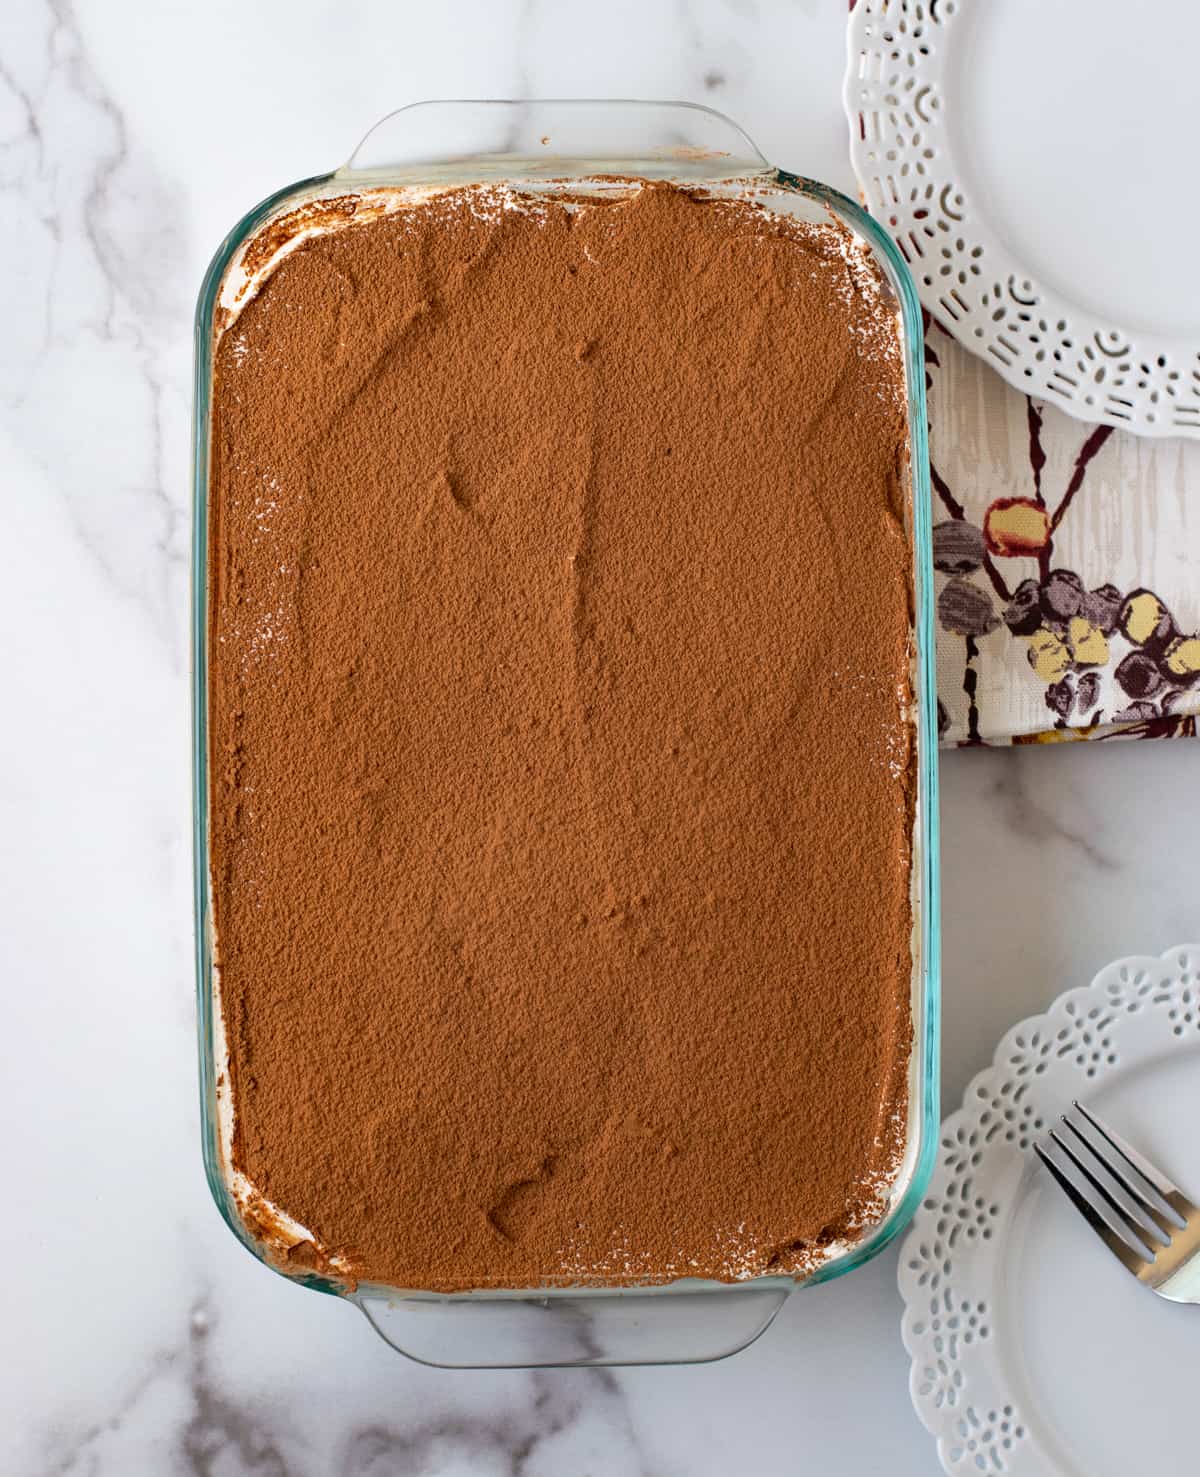
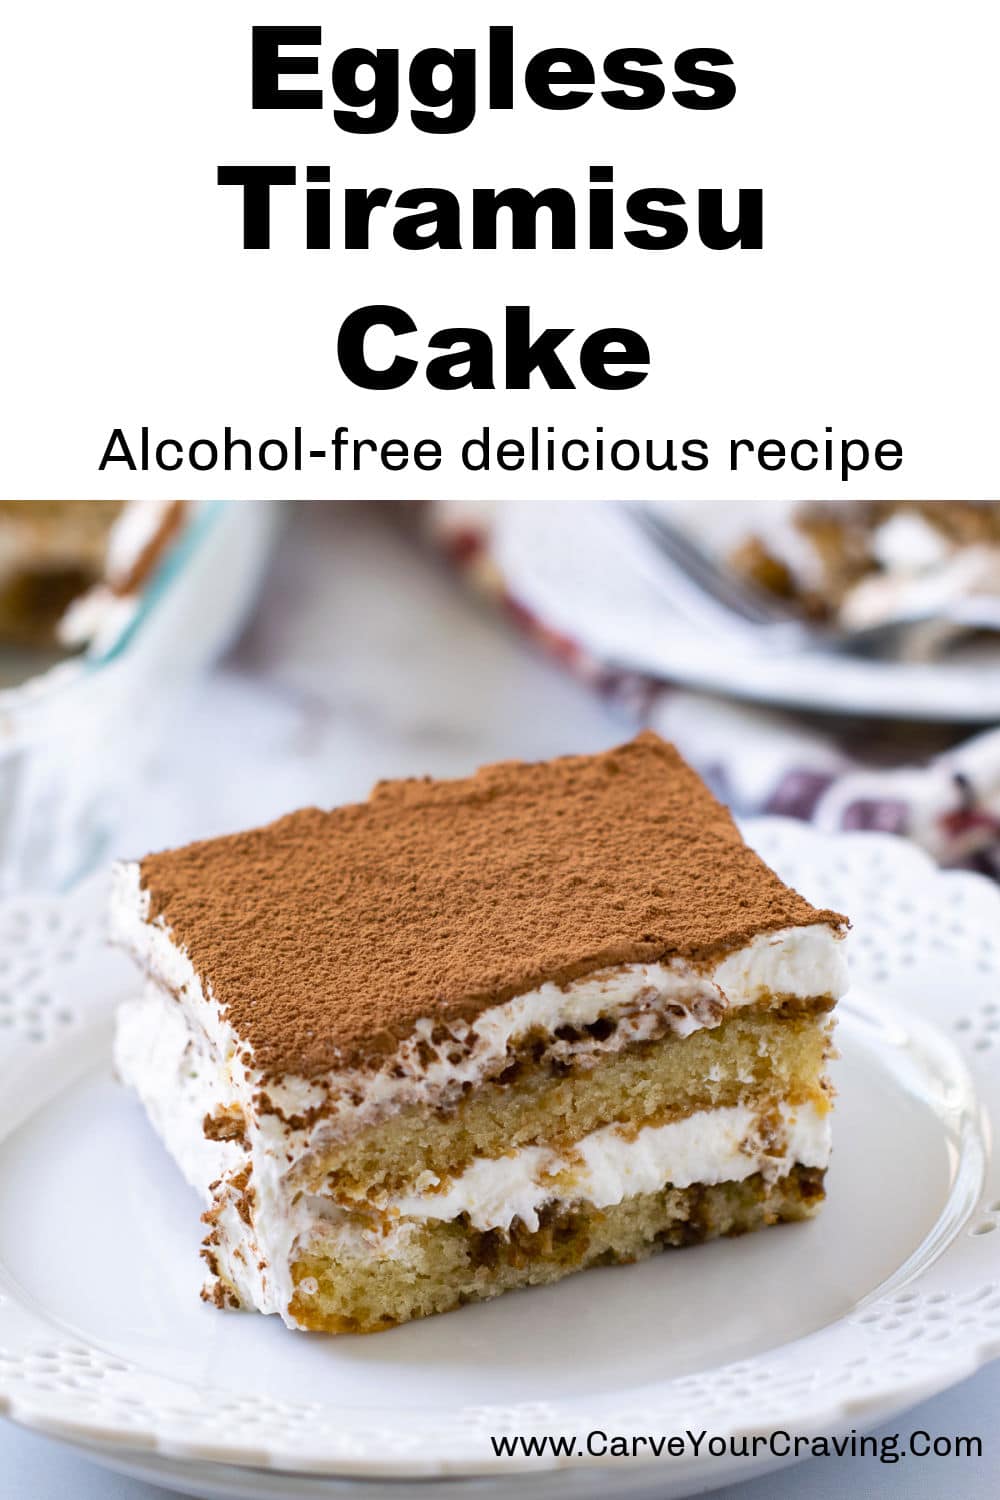
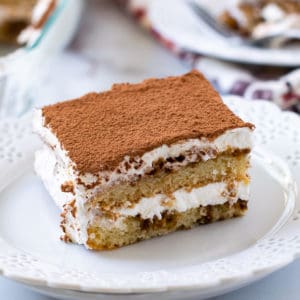
My eggless Tiramisu cake features airy sponge cake layers soaked in strongly brewed coffee, rich mascarpone cheese frosting, and a generous dust of cocoa on the top. You do not have to hunt for egg-free Savoiardi at all!
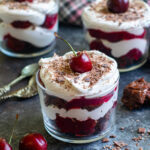
If you are not a coffee fan and still want to enjoy Tiramisu then try my crazy delicious chocolate tiramisu cake. It is an alcohol-free and kid-friendly dessert as well.
An egg-free, no alcohol spin on the Classic Tiramisu!
Tiramisu literally means pick me up. It is a famous classic Italian no-bake dessert involving coffee and alcohol. In the traditional recipe, Savoiardi Italian ladyfinger cookies are soaked in a coffee mixture sandwiched between creamy layers prepared with dry marsala wine or dark rum, egg custard, and mascarpone cheese.
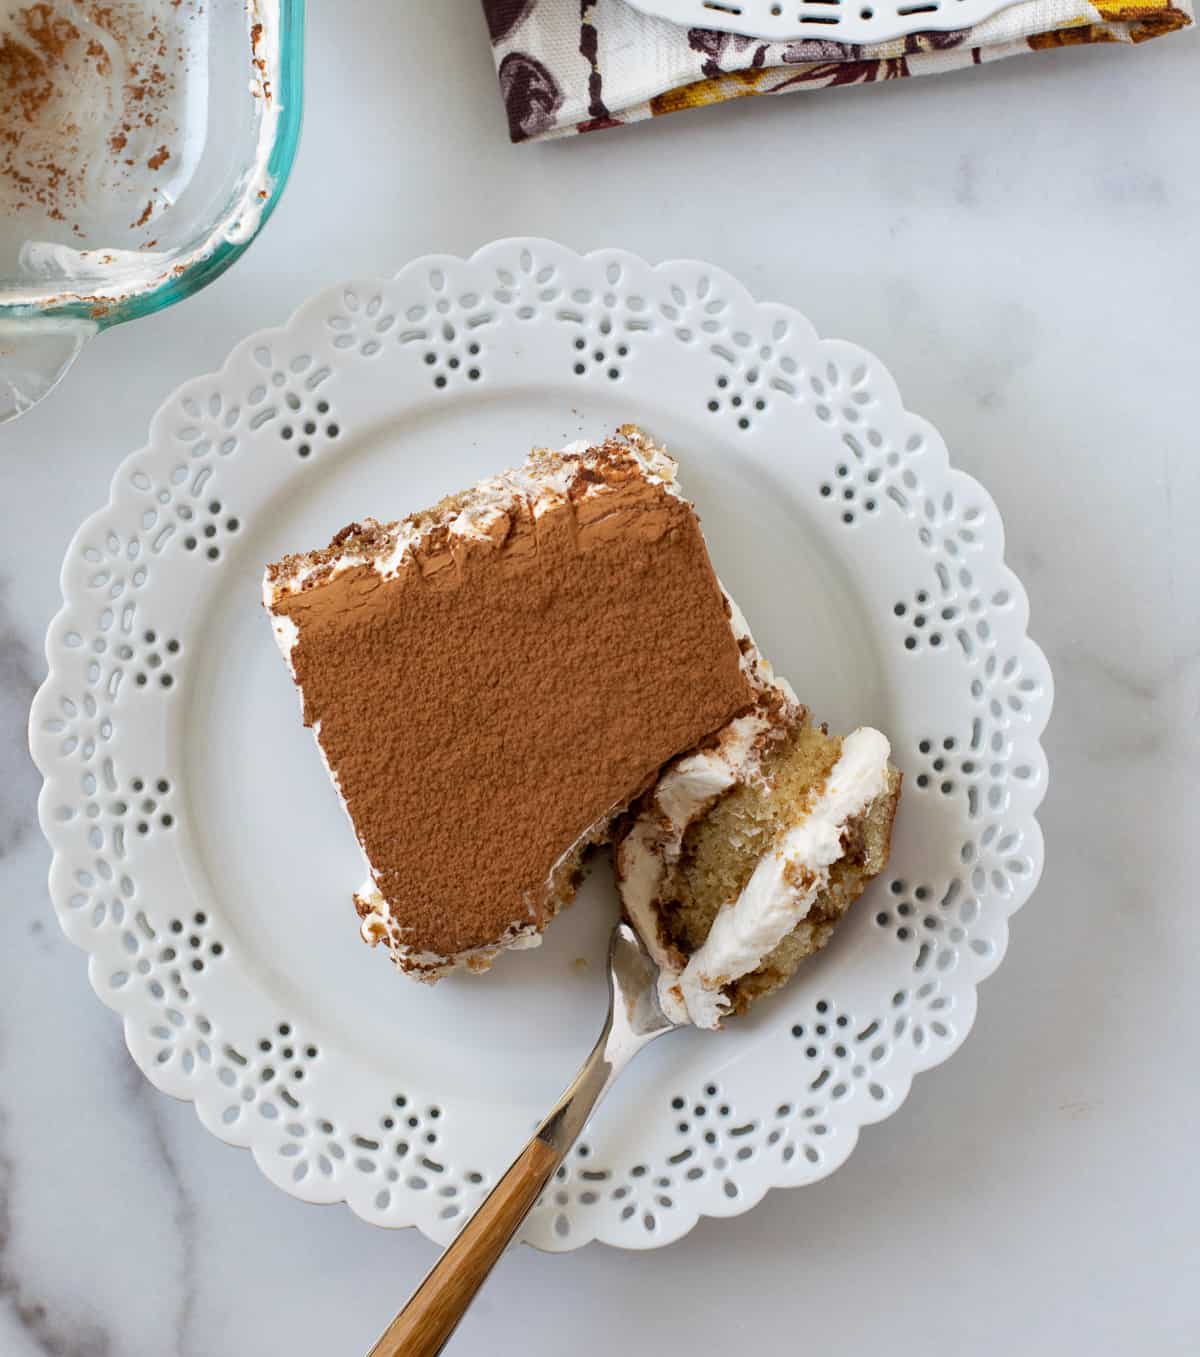
My Eggless tiramisu is made with an airy sponge instead of Savoiardi which has eggs. I have swapped the egg custard with rich and airy mascarpone whipped cream frosting. This alcohol-free version of Tiramisu will just melt in your mouth.
Swapping sponge cake for Savoiardi
Did you know Savoiardi cookies also known as ladyfingers which are sandwiched between the cream layer are made with eggs? It is nearly impossible to get ready-made Savoiardi without eggs. Testing eggless Savoiardi cookies at home is on my list. But until then I make tiramisu at home using my tried and trusted eggless sponge cake instead of ladyfingers. It works like a charm. You can cut the sponge into strips to mimic the cookies.
Ingredients to make Eggless Tiramisu Cake
This tiramisu cake is split into 4 parts –
- The cake sponge – made with basic ingredients found at home. No need to use condensed milk or butter.
- Sturdy Mascarpone frosting – made with heavy whipping cream and mascarpone cheese
- Strongly brewed coffee
- Unsweetened cocoa powder to dust on the cake.
Step by step instructions
- Bake your sponge cake.
- Make the mascarpone frosting.
- Soak or brush the cake with strongly brewed coffee.
- Layer everything.
- Dust the top with cocoa powder.
- Let it sit in the fridge for 6-8 hours for the flavors to meddle.
- Enjoy it chilled with your loved ones.
Important tips to keep in mind
- Completely cool the sponge cake before handling it. I recommend making it the previous day.
- Use freshly brewed coffee cooled to lukewarm or room temperature, not very hot.
- Let the tiramisu sit in the fridge to set for at least 6 hours before eating.

How to store eggless tiramisu cake
Refrigerate the cake covered at all times. I do not recommend freezing the tiramisu cake because the cream will be a bit watery once you thaw it.
Shelf life and make ahead of time tips
This cake stays well refrigerated up to 3-4 days after it is layered. You can make the sponge cake and frosting up to 2 days in advance. Store it covered in the refrigerator.
Get creative with serving Tiramisu
- Honestly, you do not need any decorating skills to make a tiramisu cake. You can choose to layer everything in a casserole or any appropriate deep glass / ceramic bowl.
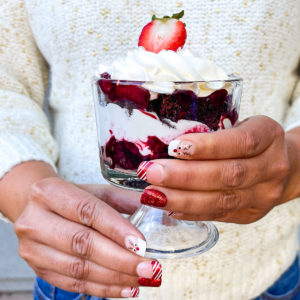
- To step up a bit, I like to layer it in a trifle glass or individual serving bowls.
- Add some color to your dessert by putting sliced strawberries and mint leaves as garnish.
Use appropriate pan for this recipe
The glass pan looks the most attractive when you make tiramisu. You can see all the beautiful layers. But it is not mandatory. A ceramic pan, casserole, pie dish, or metal pan is fine as well. However, you should use the right pan size. This recipe fits well in an 8”, 9”, or a 7 by 11” pan. To make it in a 9 by 13” pan, simply use 1.5 times this recipe. You can cut the recipe into half to fit a smaller pan or individual trifle glasses.

KEEP IN TOUCH – Are we friends yet? Let’s connect on-Facebook| Instagram | Pinterest | Twitter. Never miss a recipe. Please subscribe to my blog. It is free! Pin this photo for future reference.
Easy eggless cake recipes you should try –
Eggless Coffee Cake with walnut streusel topping
How to make an eggless Tiramisu Cake?
Eggless Tiramisu Cake
Ingredients
Dry ingredients
- 1½ cup All-purpose flour (188 grams)
- 1 teaspoon baking powder
- ½ teaspoon baking soda
- ½ teaspoon salt
To whisk in another bowl
- 1 cup regular Sugar (210 grams)
- ½ cup yogurt (118 grams)
- ⅓ cup water (110 ml)
- ⅓ cup neutral-tasting oil (62ml)
- 1 teaspoon vanilla extract
For frosting
- 12 oz Mascarpone cheese use cold straight from the fridge
- 1½ cup Chilled Heavy whipping cream straight from the fridge
- ¾ cup confectioner’s sugar
- 1 teaspoon vanilla extract
- Pinch of salt
For coffee mixture
- 2 tablespoon instant coffee
- ½ cup water
- Or use ½ cup strong expresso
Cocoa for dusting
- Approx ½ cup Unsweetened cocoa powder as needed
Instructions
- Preheat the oven at 325 deg F for a glass pan & 350 deg F for a metal pan.
- Line a 7 by 11” pan or 9 “ pan with parchment paper.
- Cream the sugar, water, and yogurt until the sugar is completely dissolved. Add oil and vanilla extract and whip well until oil is emulsified.
- In another bowl sift all dry ingredients and give it a quick mix. Now, slowly add sifted flour fold into the wet ingredients. Fold the dry ingredients in the wet ones with a spatula or whip it with a hand blender/stand mixer until lump-free and smooth.
- Do not over mix. The batter should be medium consistency.
- Bake in preheated oven for 25-30 minutes or till a toothpick inserted into the cake comes out with fewer crumbs, not sticky batter.
- Let it cool in the pan for 10 minutes and then carefully invert it on a cooling rack. Peel off the parchment paper. Cover the cake loosely with clean muslin or dishcloth to prevent it from drying as it cools.
- Let it cool completely before handling. I like to store the cake covered in foil at room temperature overnight before layering.
- For making the frosting
- Refer to my mascarpone whipped cream frosting instructions here. I have a small video on how to make this frosting as well.
- For layering everything
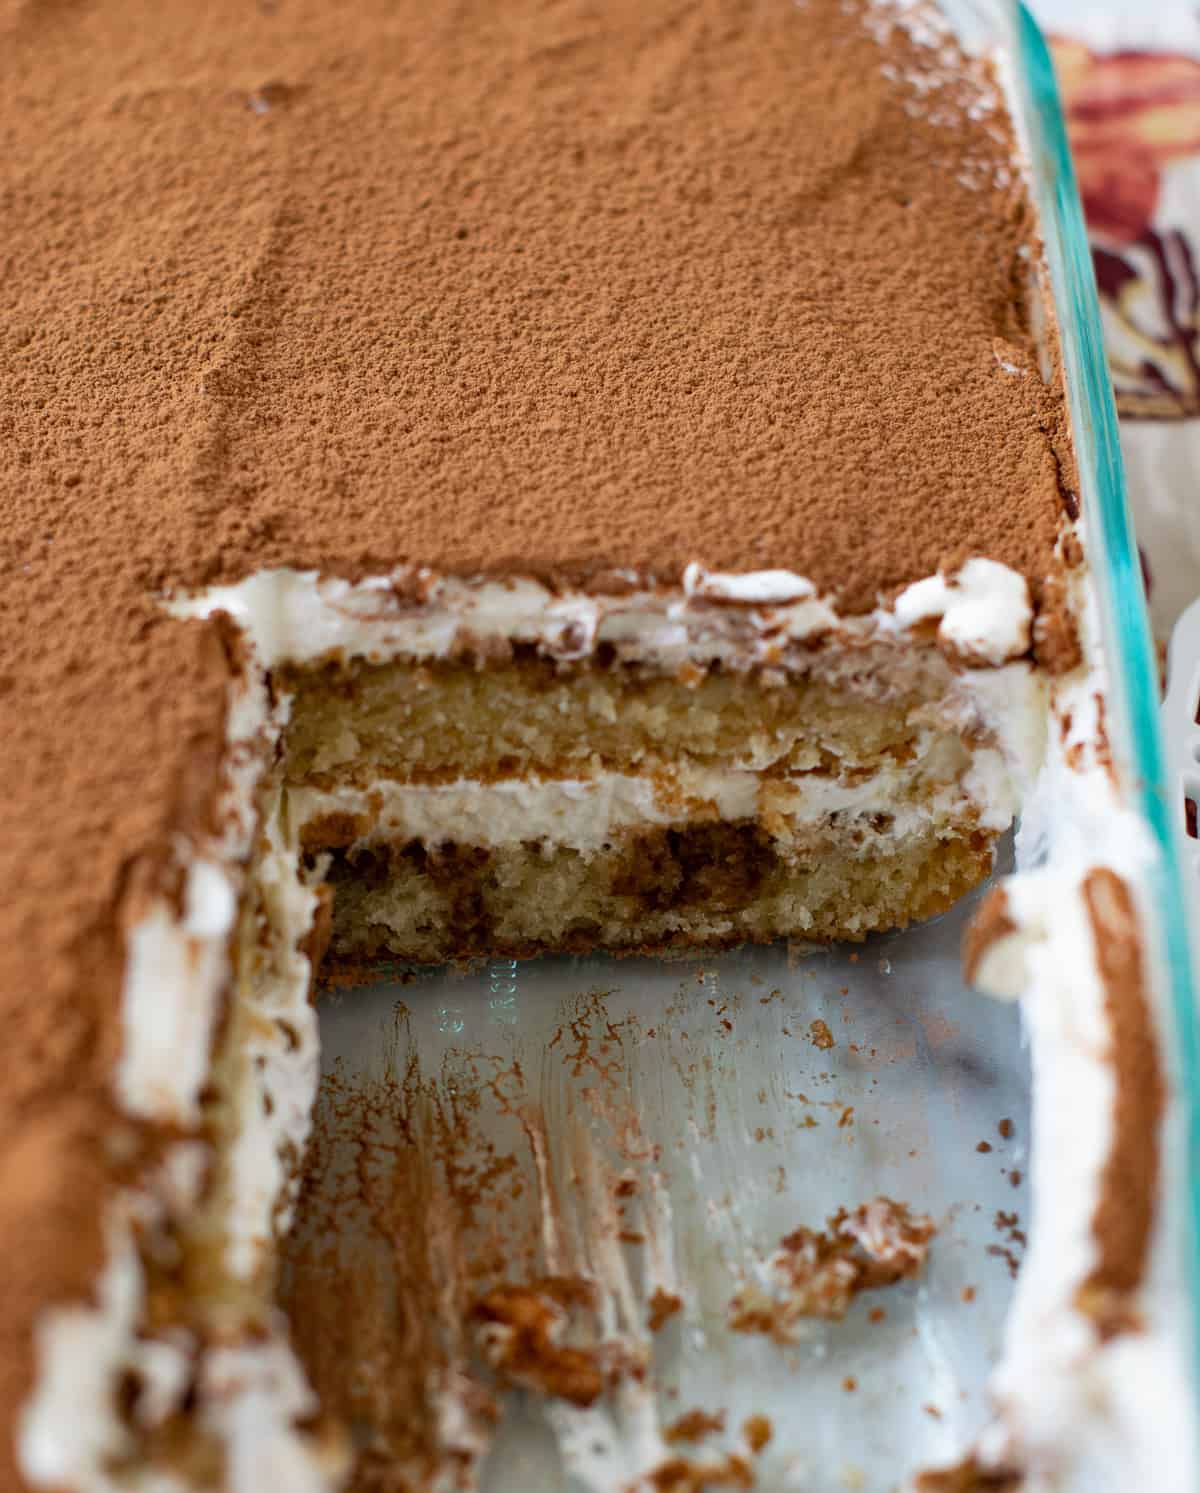
- Slice the cake horizontally with a serrated knife or a cake leveler to make two layers. Place one layer into the pan. Brush it generously with coffee mixture. Then spread a thick layer of mascarpone frosting.
- Place another layer on the top and repeat the process. Dust the top generously with cocoa. Lean up the edges with a napkin. Cover it with plastic wrap and let it sit in the refrigerator for at least 4-6 hours to chill.
- You can choose to cut the cake layers into strips to mimic Savoiardi, dip it in the coffee mixture, and go ahead with the recipe.
Step by Step video of the recipe -
Notes
Use an appropriate pan for this recipe
- The glass pan looks the most attractive when you make tiramisu. You can see all the beautiful layers. But it is not mandatory. A ceramic pan, casserole, pie dish, or metal pan is fine as well. However, you should use the right pan size.
- This recipe fits well in an 8”, 9”, or a 7 by 11” pan. To make it in a 9 by 13” pan, simply use 1.5 times this recipe. You can cut the recipe into half to fit a smaller pan or individual trifle glasses.
Important tips to keep in mind
- Completely cool the sponge cake before handling it. I recommend making it the previous day.
- Use freshly brewed coffee cooled to lukewarm or room temperature, not very hot.
- I had to click photos so I cut this cake in 3 hours. It will set beautifully if you let it rest for few extra hours before cutting.
- This cake tastes the best chilled. Let the tiramisu sit in the fridge to set for at least 6 hours before eating.
How to store eggless tiramisu cake
- Refrigerate the cake covered at all times.
- I do not recommend freezing the tiramisu cake because the cream will be a bit watery once you thaw it.
Shelf life and make ahead of time tips
- This cake stays well refrigerated up to 3-4 days after it is layered.
- You can make the sponge cake and frosting up to 2 days in advance. Store it covered in the refrigerator.
Get creative with serving Tiramisu
- Honestly, you do not need any decorating skills to make a tiramisu cake. You can choose to layer everything in a casserole or any appropriate deep glass / ceramic bowl.
- To step up a bit, I like to layer it in a trifle glass or individual serving bowls.
- Add some color to your dessert by putting sliced strawberries and mint leaves as garnish.
Nutrition


I made this cake and it was a superhit at my son’s graduation party. Thank you for sharing your wonderful recipe!
Super easy to make, and super yummy to taste…everyone loved it..
It came out delicious.follow the recipe to T! Thank you for perfect recipe
So glad you liked it NT.