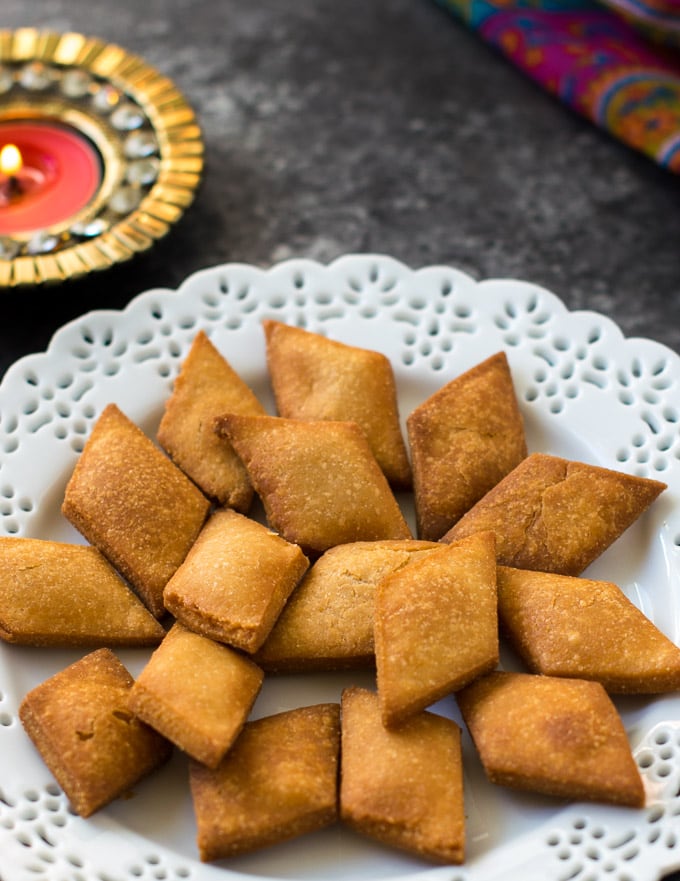
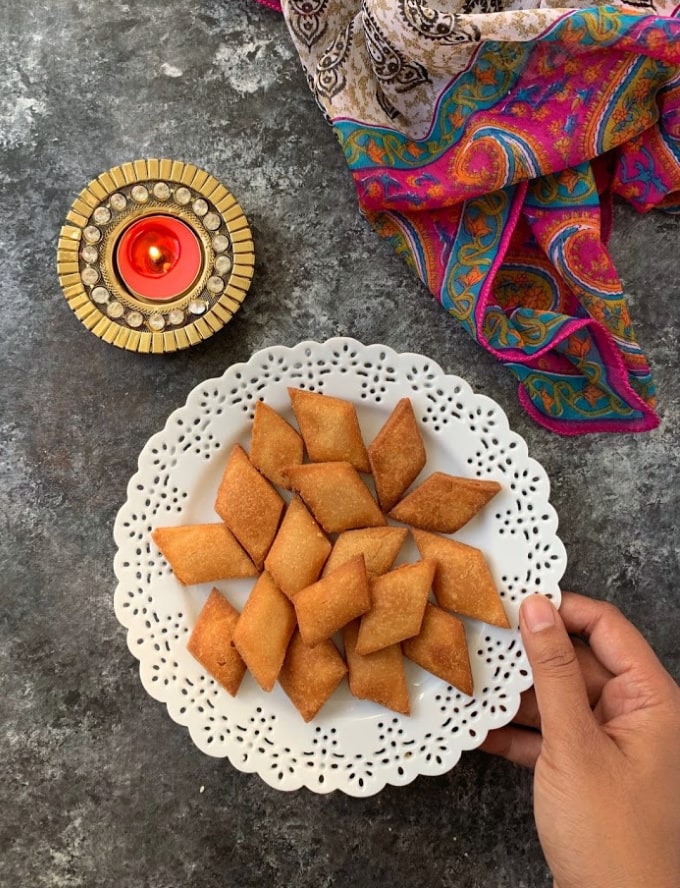
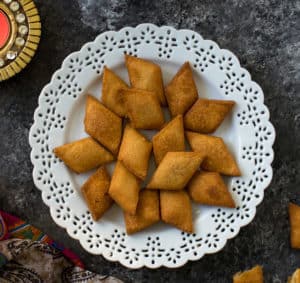
Shakarpara / Shankarpali literally means sweet cookies. These are delicious Indian style bite size cookies that are crispy, melt in mouth and not overly sweet. Traditionally Shankarpali recipe is made with Maida. Today I will share with you how to make this Shakarpara recipe 2 ways – Deep fried & baked version with healthier ingredients. Make your preferred version for a yummy tea time snack.
Lot of childhood memories are attached to these sweet cookies. I remember my mom making Shakarpara’s during Diwali. My mom starts preparing everything 2-3 weeks in advance. She makes meethi Shakarpare as well as the savory version that is namakpare. She even made matri’s, chakli’s, kachoris & gujiyas and mithai like lapsi – cracked wheat sweet. The entire house would smell so good all month long.
We shared these snacks with our neighbors, close friends & family. And they would do the same. Anyone visiting us would get a big platter of homemade treats.
What is Shakarpara / Shankarpali ?
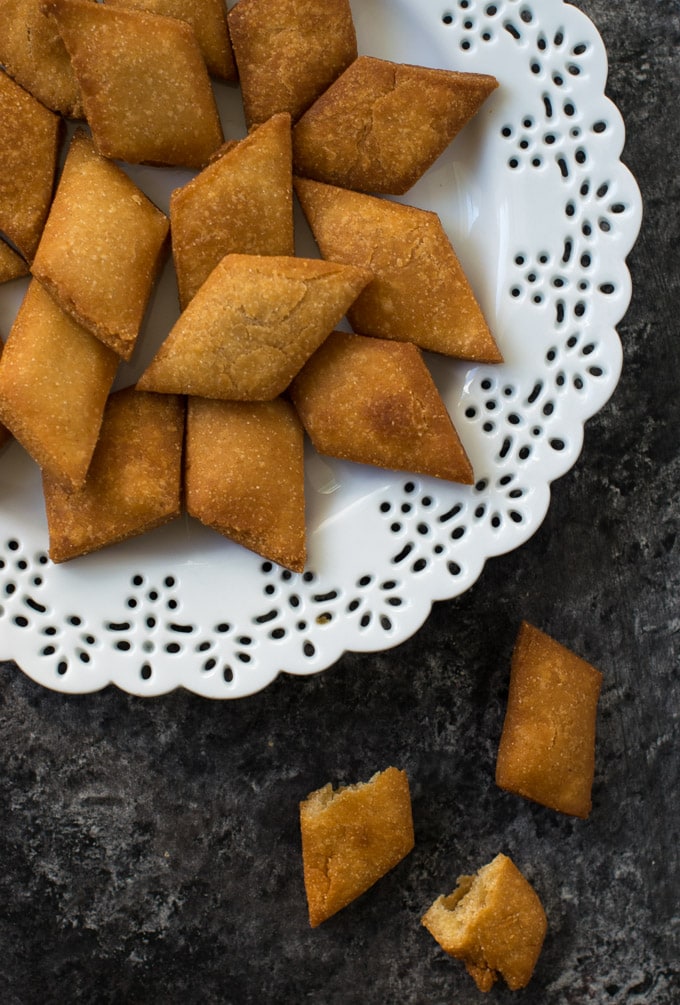
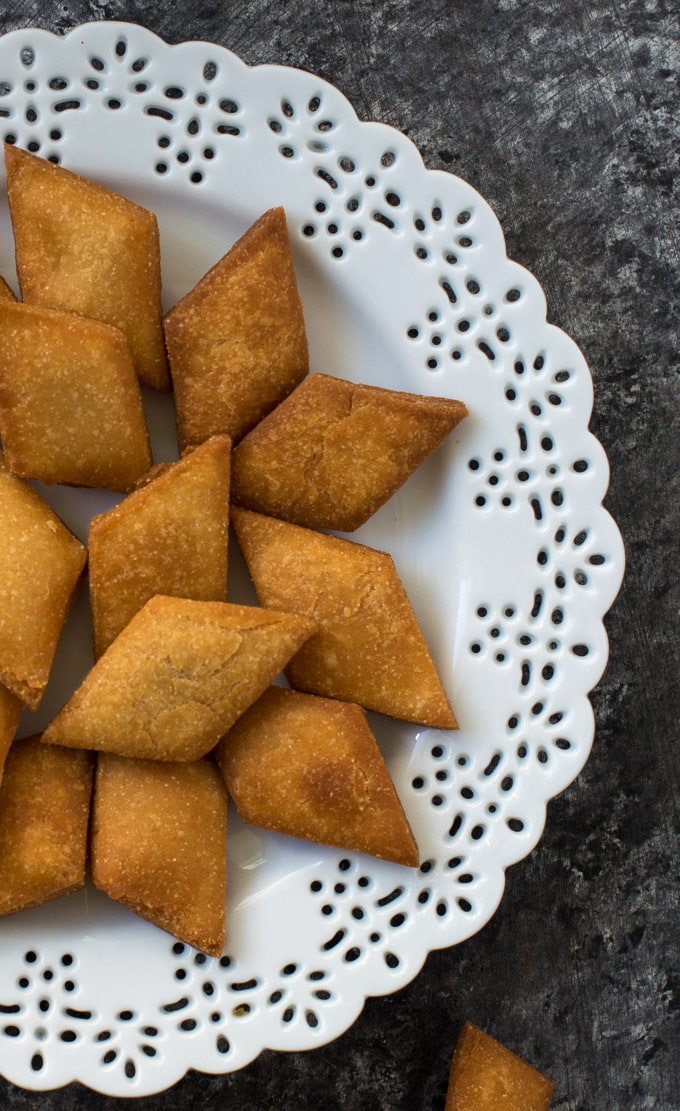
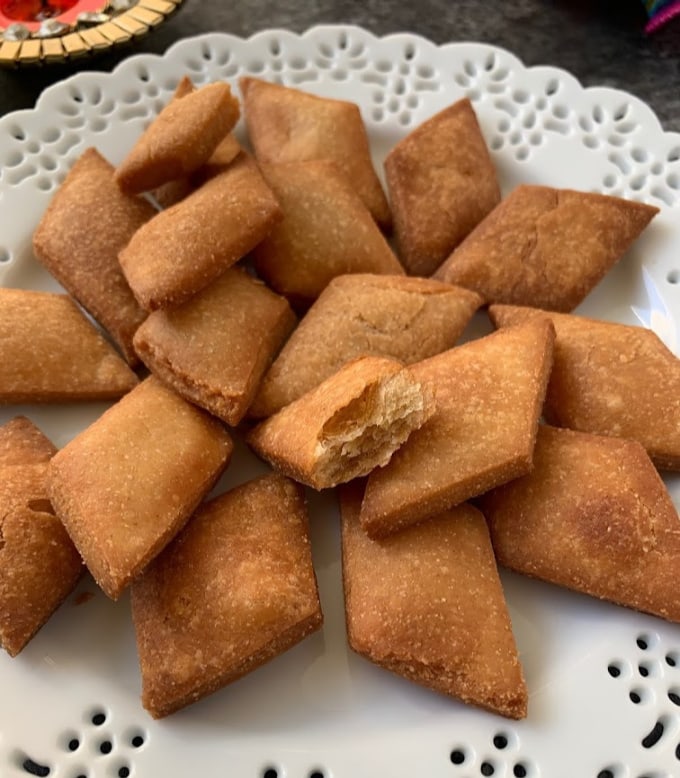
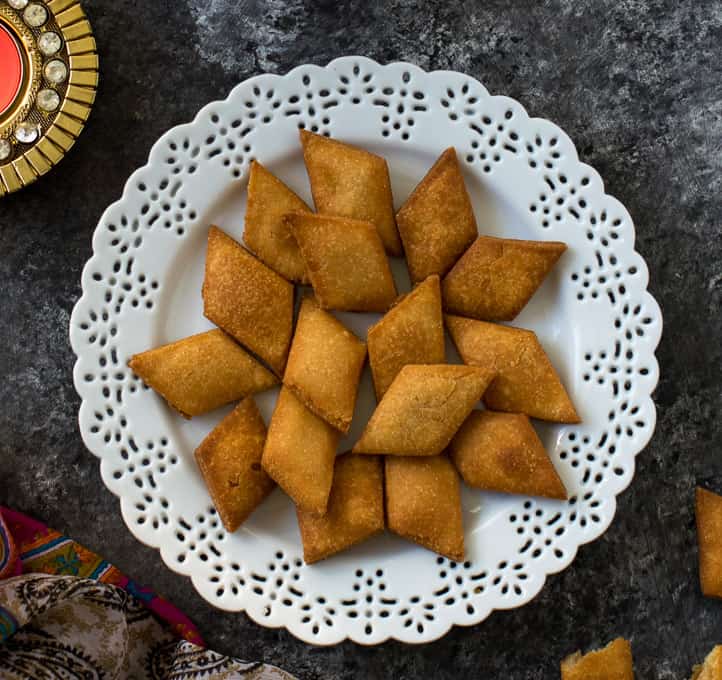
Shankarpali is a sweet deep fried Indian snack almost like a flaky cookie. They are crunchy from outside and tender on the inside.
These crispy biscuits are mostly made during Indian festivals like Diwali, Holi or Ganesh Chaturti. Shakarpara is an addictive Indian tea time snack that is popular mainly in Maharashtra, Gujarat and Karnataka.
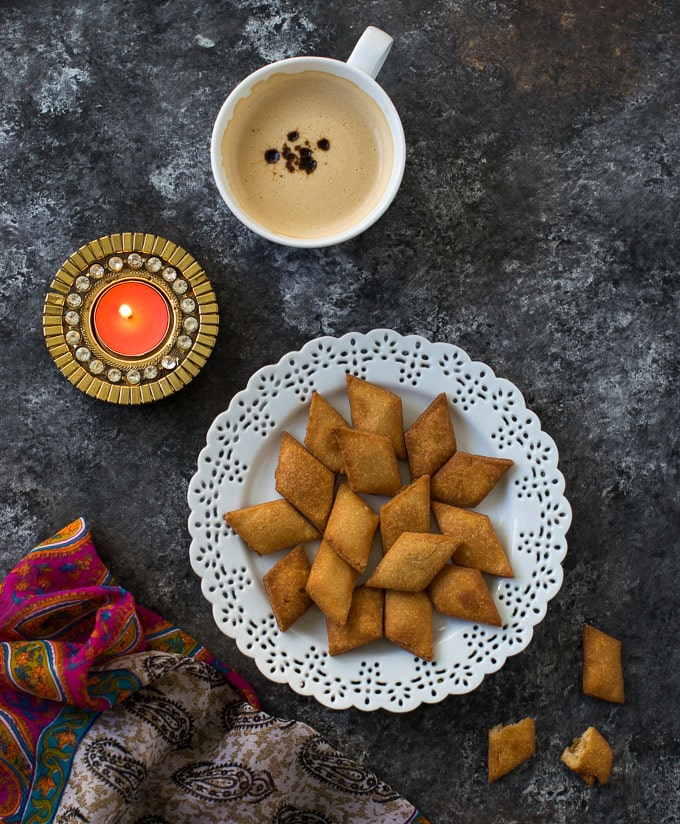
Diwali is a major Indian festival where every Indian home makes several sweet and savory snacks. These snacks are then placed on a platter along with mithai (sweets) , dried fruits and nuts.
As we have family and friends visiting us all day during Diwali week this platter comes really handy to entertain them over tea or coffee.
Oh how I miss all this fun and energy when I am here in America!!!
So as Diwali is nearing I have started preparing these snacks at home. In fact my kids love these bite size cookies so I make them all year long.
Instead of oreos or chocolate chip cookies my older one prefers shakarpara’s with a glass of milk. LOL he is very Desi. He calls it as sweet diamond biscuits.
He even loves these Indian biscuits in his lunch box or as a after school snack. In short as gold fish crackers is to the western world Shankarpali is to India.
Shakarpara ingredients –
Make this Shakarpara recipe at home with handful of ingredients found in your pantry.
Every Indian home has it’s own version of sweet Shankarpali recipe. Traditional one’s are made with maida, rawa, oil or ghee and milk or water. They are also known as maida biscuits or diamond cut biscuits.
Then there are healthy versions using Wheat flour or besan .
Today I am sharing Shankarpara recipe made with only 7 ingredients – Wheat flour , ghee , rawa ( semolina flour) cornstarch ( White corn flour) salt, water & sugar.
Why make this Shakarpara recipe?
- Because it’s made with wheat flour instead of Maida ( all purpose flour).
- You can use jaggery instead of sugar.
- Make it healthier by baking Shakarpara ‘s instead of deep frying them.
Why do we love this Shankarpali recipe ?
- It makes a great tea time snack.
- It’s not overly sweet like traditional cookies and are nut free too.
- My kids love them as a snack in their lunch box or as after school snack.
- It’s easy to make shakarpara at home and is cheap on the pocket.
- It makes great edible gifts for your friends and family on special occasions like Diwali and Christmas.
Step by step making of Shakarpara / Shankarpali recipe fried version –
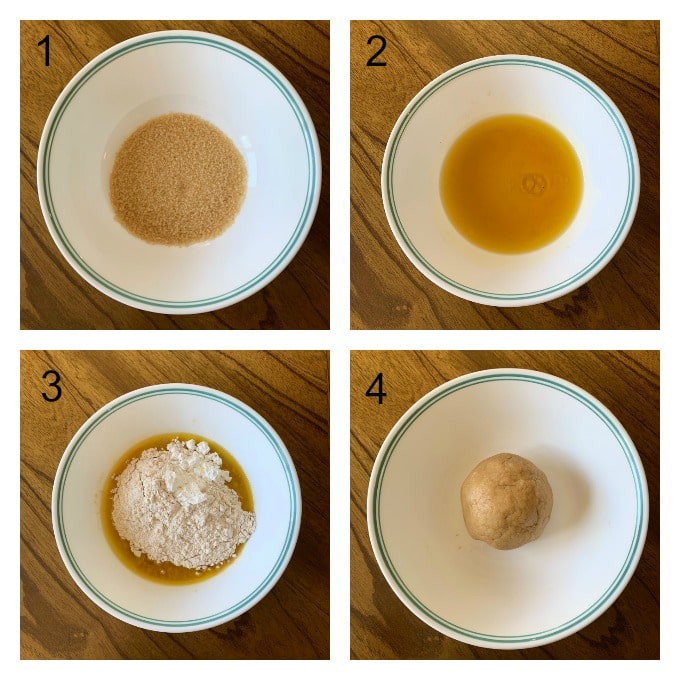
- Take sugar in a bowl . Add in water and microwave it for 30 seconds.
- Alternately you may add hot water to the sugar to melt.
- Once the mixture has cooled down or a bit lukewarm add in the wheat flour ( atta), Semolina flour (rawa ), cornstarch and salt.
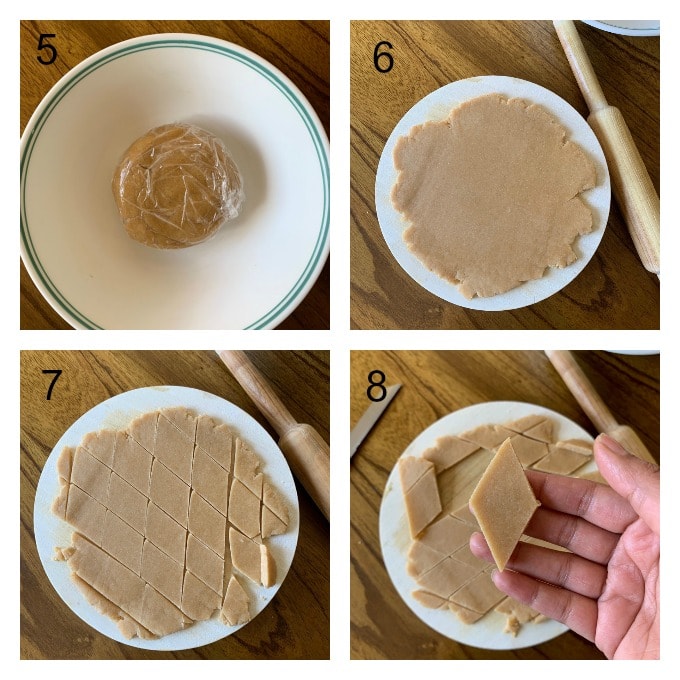
- Mix well to form a stiff dough.
- Wrap the dough and let it rest in the fridge for 15-20 minutes. ( it’s an important step for flaky shakarpara)
- Take out the dough from the fridge and divide into 3-4 parts.
- Roll each part to your desired thickness.
- Cut straight lines and then diagonal lines to get diamond shape. You can even do square shape biscuits too
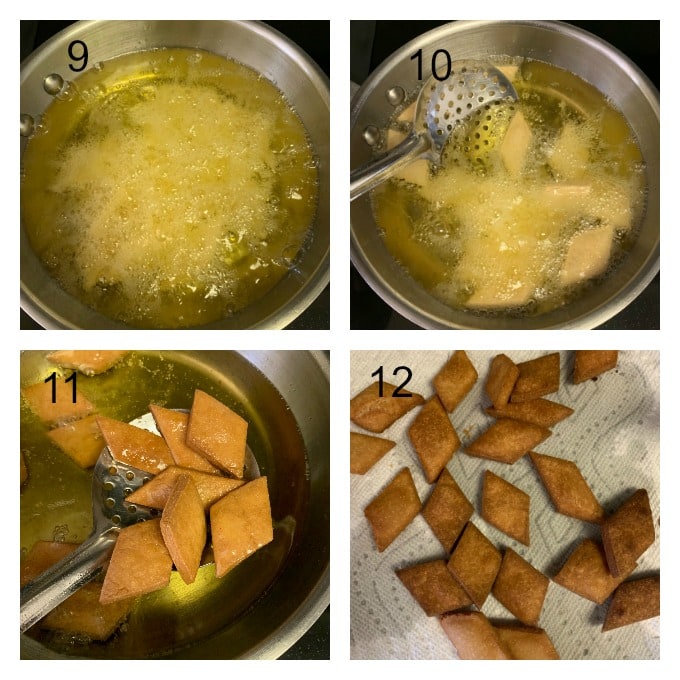
Fry it on low to medium heat moving the shakarparas with the slotted spoon every 5 seconds.
Cook them until golden brown.
Drain them gently on a absorbent paper to remove excess oil. Let it cool completely before storing.
Step by step making of Shakarpara / Shankarpali recipe baked version –
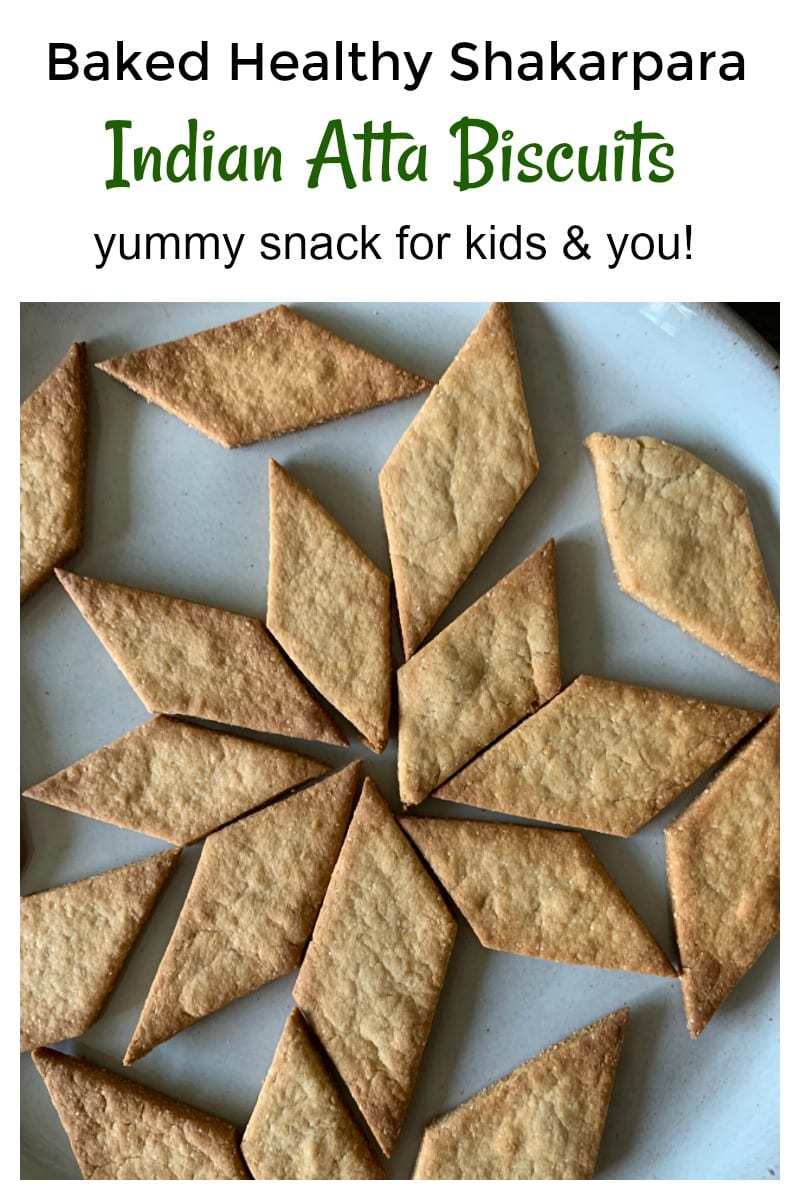
Yes, you can bake Shakarpara ‘s in an oven. These mini atta biscuits are so much better than the store ones.
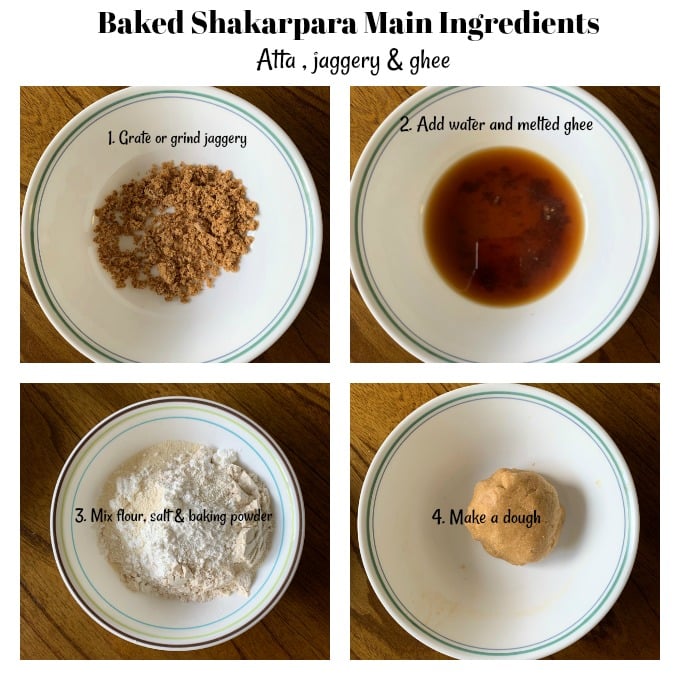
For this healthy biscuit recipe we are swapping maida for atta & sugar for jaggery (gur).
I have added ghee in this version too. You may use melted butter or oil.
There is a slight difference between the ingredients when you bake these Indian cookies.
You will have to add some baking powder and increase the amount of ghee too.
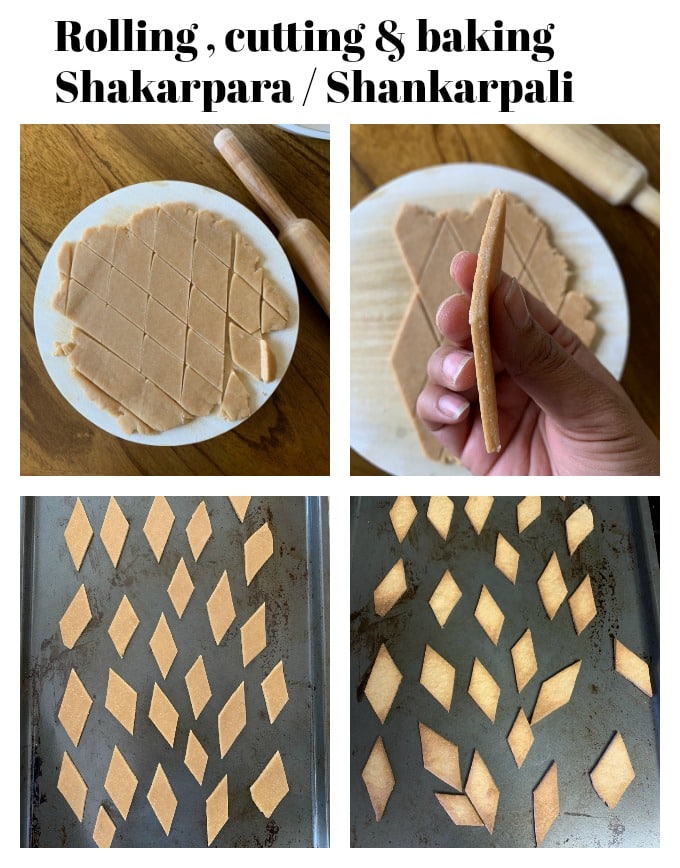
Roll the dough to desired thickness. I like it thick just like we make parathas. The final outcome highly depends on the way you have rolled the dough.
Roll it thin and you have very crunchy biscuits. Roll it thick and you have tender biscuits.
Pre heat oven to 375 deg F. Line a baking tray with the diamond cut biscuits. Do not overlap them.
Cook for 9-12 minutes until the edges start to brown. My cookies were done in 9 minute.
They will continue to cook after baking with residual heat.
Over baking will simply harden them.
Resulting into crispy guilt free snack for you and your kids. I like to keep them in a zip lock bag and take it along as a snack for my toddler in the car, park or at the grocery store.
Note- Baked Shakarpara is lighter in color as compared to the fried ones.
Expert tips for making the Best Shankarpali recipe –
- Sugar needs to melt completely before making the dough.
- Use already melted ghee or else your measurement will be off.
- Fry Shakarpara’s between medium to low flame for them to cook evenly from outside and inside.
- Shankarpali’s will firm after cooling down.
- For baked Shakarpara’s , bake them until the edges are golden brown. They will continue to cook after baking with residual heat.
- Over baking will harden them. They will firm up once cooled.
- For flaky melt in mouth Shakarpara it’s important to rest the dough for at least 15 minutes in the fridge.
- Thinly rolled dough will yield more crispy and less flaky or tender shakarpara’s.
Other easy Indian snack recipes that you must try-
How to make Indian savory pancakes like a pro
Achari Paneer Braided Puff Pastry
Are we friends yet? Let’s connect on-
Facebook| Instagram | Pintrest | Twitter
Don’t forget to subscribe to my blog for latest recipes and updates. Pin it for future reference.
What do you think about this healthy recipe? Do give it a star rating and leave a comment below.
How to make Shankarpali / Shakarpara recipe –
Shakarpara / Shakanrpali Recipe ( Fried & Baked Version)
Ingredients
For deep fried Shankarpali recipe –
- 1 cup / 125 grams Wheat flour / atta
- 1 tablespoon / 9 grams Cornstarch / white corn flour
- 2 tablespoons / 20 grams rawa / semolina flour
- 3 tablespoons melted ghee OR oil
- ¼ cup / 53 grams granulated sugar of choice
- ¼ cup / 59 ml water
- ¼ teaspoon salt
Ingredients for baked Shakarpara recipe –
- 1 cup / 125 grams Wheat flour / atta
- 1 tablespoon / 9 grams Cornstarch / white corn flour
- 2 tablespoons / 20 grams rawa / semolina flour
- 5 tablespoons melted ghee OR oil
- ½ cup / 70 grams jaggery / gur
- ½ teaspoon baking powder
- 3-4 tablespoons water to bind the dough
- ¼ teaspoon salt
Instructions
For deep fried Shankarpali –
- In a microwave safe bowl add sugar , water and microwave for 30 seconds.
- Remove and stir for the sugar to melt completely.
- Alternately you may add hot water to the sugar to melt.
- Once the mixture has cooled down or a bit lukewarm add in the wheat flour ( atta), Semolina flour (rawa ), cornstarch and salt.
- Mix well to form a stiff dough.
- Wrap the dough and let it rest in the fridge for 15-20 minutes. (it's an important step for flaky shakarpara)
- Take out the dough from the fridge and divide into 3-4 parts.
- Roll each part to your desired thickness.
- Roll thin like rotis for crispy biscuits, roll thick like paratha for flaky ones.
- The rolled dough will have cracked edges that completely fine.
- Using a knife or pizza cutter cut straight lines and then diagonal lines to get diamond shape. You can even do square shape biscuits too.
- In the meantime, heat up oil in a frying pan o medium heat.
- Once warm, slowly drop in the cut cookies in the hot oil.
- Fry it on low to medium heat moving the shakarparas with the slotted spoon every 5 seconds.
- Cook them until golden brown.
- Drain them gently on a absorbent paper to remove excess oil. Let it cool completely before storing.
For Baked Shakarpara –
- In a microwave safe bowl add jaggery, water and microwave for 30 seconds.
- Rest follow the steps given for fried Shakarpara.
- Follow steps above till you rest the dough in the fridge.
- Roll the dough to desired thickness. The final outcome highly depends on the way you have rolled the dough.
- Roll it thin and you have very crunchy biscuits. Roll it thick and you have tender biscuits.
- Pre heat oven to 375 deg F. Line a baking tray with the diamond cut biscuits. Do not overlap them.
- You can bake them in batches too.
- Cook for 9-12 minutes until the edges start to brown. My cookies were done in 9 minutes.
- They will continue to cook after baking with residual heat.
- Over baking will simply harden them.
Step by Step video of the recipe -
Notes
You may add some cardamom to the dough if preferred. Makes 4 dozen cookies. Serving size - For 12 people ( 4 crackers is per serving)
How to store Shankarpali –
Store them in an airtight container at room temperature. They will last for 2-3 weeks.Expert tips for making the Best Shankarpali recipe -
• Sugar needs to melt completely before making the dough. • Use already melted ghee or else your measurement will be off. • Fry Shakarpara's between medium to low flame for them to cook evenly from outside and inside. • Shankarpali's will firm after cooling down. • For baked Shakarpara's , bake them until the edges are golden brown. They will continue to cook after baking with residual heat. • Over baking will harden them. They will firm up once cooled. • For flaky melt in mouth Shakarpara it's important to rest the dough for at least 15 minutes in the fridge. • Thinly rolled dough will yield crispy and less flaky or tender shakarpara's more like crunchy crackers.Nutrition
Do share it with the world!Thanks for stopping by.
IF SHARING ,PLEASE LINK BACK TO THE POST AS REPRODUCING, DISTRIBUTING OR COPYING PICTURES OR TEXT/ RECIPES THAT BELONG TO CARVEYOURCRAVING IS A COPYRIGHT VIOLATION. YOU CAN ALWAYS LINK BACK TO THE WEBSITE.













Made the fried version for diwali. I should have tripled the batch as its getting over right now. Thank you it so good. I
Oh wow Sakshi, that i awesome. Wishing you a very happy Diwali!
Tried the baked version. It is nice and guilt free to have with a cup of chai. I like that they are tender and crispy . I used jaggery . But didn’t like the taste. I will use sugar next time. Thank you for inspiring with healthier versions .
I understand. Jaggery is a bit of acquired taste. I am glad the baked version worked for you.
Thank you for the baked version. Can’t wait to try.
Age old authentic receipe..that still works wonders